How to Set Holiday Description on Remark for All Users using User Duty Planner on TCMS v3 or Ingress

Tuesday, November 30, 2021 TimeTec 2 Comments


Introduction
A holiday is a day type in our attendance system. The day type examples are Workday, Offday, Holiday and Rest day. By inserting all the holidays in the Holiday List, it is applicable to all users in the system. Thus a day type for specific dates will become a Holiday. However, due to insufficient space on the attendance sheet and reports to display, there will be no specific holiday description on it. 

Process
The following steps will guide and explain how to fully utilize and update for multiple users and put remarks as holiday descriptions for all users. 

Set the holiday in the Holiday List; the following screenshot is an example.

Once completed, you may set remarks for all users on the holiday date, go to User Duty Planner > Batch Update User > Select all user > Select date > Select remark > Set


Once completed, generate the Attendance Sheet once again for the user for the holidays to show in the day type and the holiday description to show in the holiday list.


Note: If some of the screenshots or steps viewed here are different from the ones in the current system, this is due to our continuous effort to improve our system from time to time. Please notify us at [email protected], we will update it as soon as possible.


2 comments:

Have any questions or inquiries about FingerTec? Drop your input here.

Activate Handheld POS into TimeTec Parking for Valet and Enforcement

Monday, November 29, 2021 TimeTec 0 Comments


Introduction
The POS device is for parking officers to collect valet parking fees and issue and collect parking penalties.

A cloud-based valet parking system like TimeTec Parking helps valet parking business owners eliminate cash handling risks, increase daily operational efficiency and provide better payment convenience to the valet customers. Explore TimeTec Parking Valet.

On an Android smartphone, you can either purchase the POS device from TimeTec or install the Android mobile app, TimeTec Parking Officer. For more information on the TimeTec Parking system, please refer to this link

Process
1. Download and install Parking Officer App on PlayStore.


2. Get a Mobile ID on the Parking Officer App, and insert it into the TimeTec Parking Web. Click on Device > Manage Handheld POS > click Add button > Insert Mobile ID and Description(Location)


3. Setup valet charge rates and penalty rules on the TimeTec Parking system. The instructions are explained in this document.

4. For valet parking on the Parking Officer App, select Valet > click Add button > register the customer information.


5. To add a penalty on the Parking Officer App, click Penalty > Add button > insert car information and a picture for proof.


6. For payment, you have the option to select Online or Offline payment.


Note: If some of the screenshots or steps viewed here are different from the ones in the current system, this is due to our continuous effort to improve our system from time to time. Please notify us at [email protected], we will update it as soon as possible.


0 comments:

Have any questions or inquiries about FingerTec? Drop your input here.

How to Manage TimeTec Parking Kiosk, TPK- 1 in TimeTec Parking System

Monday, November 29, 2021 TimeTec 0 Comments


Introduction
TimeTec Parking accepts all types of cashless payment methods, from the Touch 'n Go cards, the most popular and dominating 90% of parking cashless payment methods in Malaysia, to credit and debit cards and e-Wallets by QR Code scanning. While customers can make all these payments on the App, online, TimeTec also provides the parking kiosk for convenience for patrons who do not prefer to use the App. 

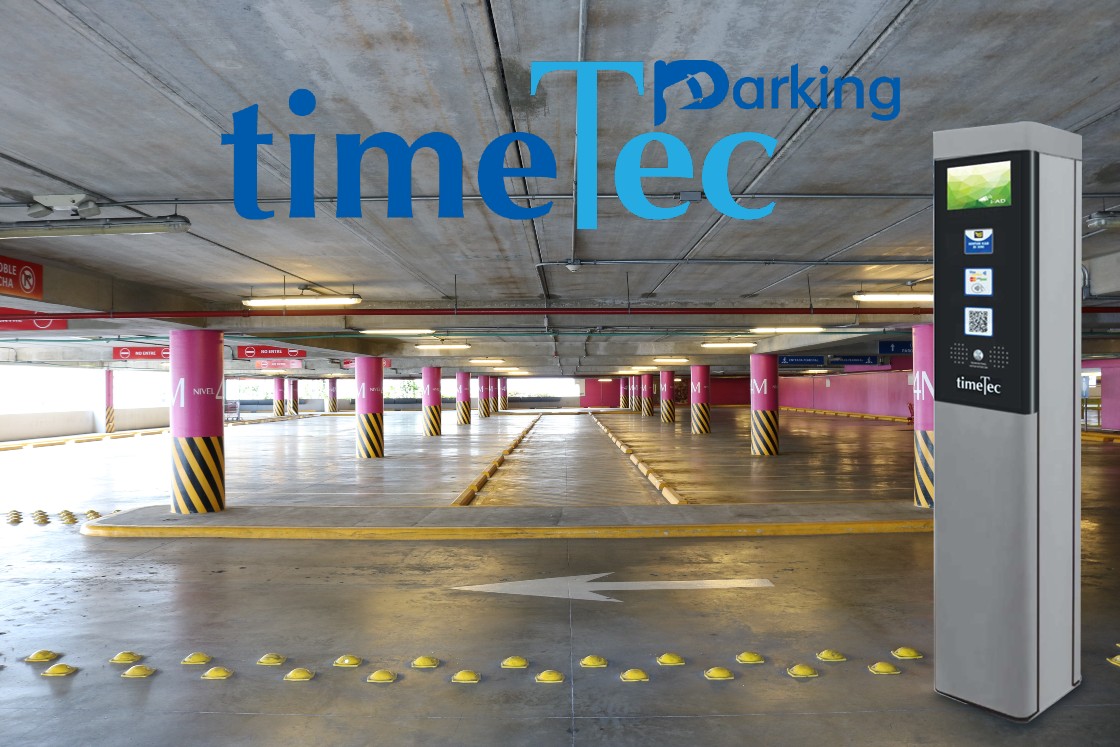
The TimeTec Parking Kiosk, TPK- 1, is a slim and weatherproof parking payment kiosk designed to stand extreme indoor and outdoor environments for long-lasting durability. It is available for operators and building owners to ensure a safe round-the-clock collection of cashless parking fees for the parking patrons.

TimeTec TPK-1 has been seamlessly integrated with the cutting edge cloud technology of TimeTec Parking System, making it suitable for casual and seasonal parking. Across multiple sites, it improves parking revenue for parking operators and building owners. For more information and specification on TPK-1, please refer to this link.

Process

1. Workflow diagram for TPK-1


2. Installation diagram for TPK-1

3. Activate TPK-1 into the TimeTec Parking System by accessing the Device > Manage TPK-1 > click Add button. The operator ID and reader ID will be provided by Touch ‘n Go.

4. Assign TPK-1 into the Entrance and Exit channel by accessing the Parking Rule > Entrance & Exit Channel. Then, choose TPK on Device Type selection, and assign it as Entrance and Exit.

5. Assign the Entrance and Exit Channel into the Parking Lot.
    - Click Parking Rule > Parking Lots.

    - Select added Car Park > click Edit

    - Assign the created Entrance and Exit Channel into Car Par > Click Save.

Note: If some of the screenshots or steps viewed here are different from the ones in the current system, this is due to our continuous effort to improve our system from time to time. Please notify us at [email protected], we will update it as soon as possible.



0 comments:

Have any questions or inquiries about FingerTec? Drop your input here.

Reporting an Incident in TimeTec Patrol

Monday, November 29, 2021 TimeTec 0 Comments


Introduction
Incidents happen in all buildings, and TimeTec Patrol offers a feature to address those incidents in security scope. Therefore, the report feature can come in handy for patrol guards to submit when an incident occurs, ensuring the relevant people are informed at the earliest and kept as proof of record if requested during post mortem. And through this report feature, patrol guards can attach photographic evidence, sound recording and more, as evidence. 

Report an Incident
Open the TimeTec Patrol application and click the Report Incidents button on the main screen to report an incident. Next, the patrol guard can view all the incident types that the Admin has added.

The guard needs to select the incident name and click on the Report button at the bottom of the list to proceed to the next page. On this page, the guard can describe the incident further, attach photographs, and record sounds by clicking the microphone button at the bottom of the screen. Finally, click submit to send the report.

The Recipient’s View
When a patrol guard reports an incident, a notification is sent to the configured recipients in the system. To view the notification, go to the menu on the left and look for the Notification tab. On this page, look for “Report Incidents”.
 

There is a list of reported incidents by patrol guards on the Report Incidents page, complete with all the evidence attached for the recipient to access. 

Note: If some of the screenshots or steps viewed here are different from the ones in the current system, this is due to our continuous effort to improve our system from time to time. Please notify us at [email protected], we will update it as soon as possible.


0 comments:

Have any questions or inquiries about FingerTec? Drop your input here.

How to Set Emergency Contacts in TimeTec Patrol

Monday, November 29, 2021 TimeTec 0 Comments


Introduction
Accidents happen in the workplace. Therefore, the company needs to know whom to contact in case of an emergency. Having this information intact can be of immense help when an emergency occurs to reduce any loss or damage to employees and the company itself. Customers can add emergency contact in TimeTec Patrol, and here, we have prepared a guideline for the guards' reference in an emergency. 

Process
1. To add any user as an Emergency Contact require a mobile contact to be added to their profile. To do so, go to the TimeTec Profile Module.

2. In TimeTec Profile, access User > Manage User.

3. Select User > Click Edit (the pencil icon).

4. Go to Contact Tab > Click Edit (the pencil icon).

5. Insert Personal Contact No. > Click Submit.

6. Once contact details have been added, go to the TimeTec Patrol Module.

7. Go to Company > Organization Structure.

8. Select Department or Patrol Location (from the left panel) > (On the right panel) Contact Person > Click Assign Users into Contact Person.

9. Select User > Click Submit.

10. New Contact Person will appear once all the processes are complete.

11. Now, in the TimeTec Patrol mobile app, security personnel will be able to tap on the Emergency Contacts button on the homepage.

12. Details of users in emergency contacts will be available here and the patrol officers can tap on the details to reach the contact.

Note: If some of the screenshots or steps viewed here are different from the ones in the current system, this is due to our continuous effort to improve our system from time to time. Please notify us at [email protected], we will update it as soon as possible.


0 comments:

Have any questions or inquiries about FingerTec? Drop your input here.