How to Add QF Plus Device in the Existing Ingress Software and TimeTec AWDMS

Thursday, February 25, 2021 TimeTec 1 Comments


Introduction
For the latest version of AWDMS and Ingress Software (version 4.1.0.4), you can add QF Plus Device in Ingress Software and AWDMS and this device will capture the transaction log data as attendance in Ingress and AWDMS.

Note: Upon purchase of QF Plus, please ensure to request the firmware that will be used with Ingress software.

Process
Before connecting your devices to the TimeTec AWDMS and Ingress software, kindly check the following:
1.       Please check your PC server IP address using Windows Command Prompt. Run CMD > Type ipconfig > Press Enter. You can see from the picture below that the PC IP address is 192.168.4.214. (Wireless LAN)

 2.       Go to the device. Press Menu > System Settings > Cloud Service Setting > Insert your PC IP address > Set Server Port to 8088.

IMPORTANT NOTE: If you are using a Wireless network (WIFI), please make sure you connect the device with the same wireless network. Menu > Wireless Network > Turn ON WIFI > Select the same network with your server PC.

3.       Then, run TimeTec Cloud AWDMS > Click on Attendance > Device > Search Device > Search. After completed, the device details will be listed as per screenshot below.


4.       After you manage to get the device listed in AWDMS, please run your Ingress software. Go to Devices > Add Device > Set the Device Name > Select AWDMS ATT as Communication Mode > Key in Serial Number and device IP address > Click ADD.


5.       Once added the device, you may proceed to use the device to download the user and the user clocking data accordingly.


Note: If some of the screenshots or steps viewed here are different from the ones in the current system, this is due to our continuous effort to improve our system from time to time. Please notify us at [email protected], we will update it as soon as possible.


1 comments:

Have any questions or inquiries about FingerTec? Drop your input here.

Manage TimeTec Lift(BLE-16) in TimeTec Access

Wednesday, February 24, 2021 TimeTec 0 Comments


Introduction
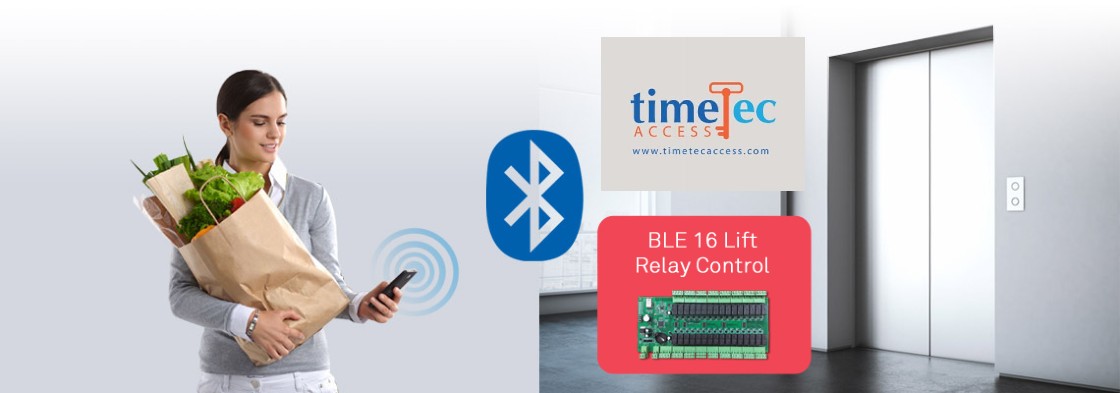
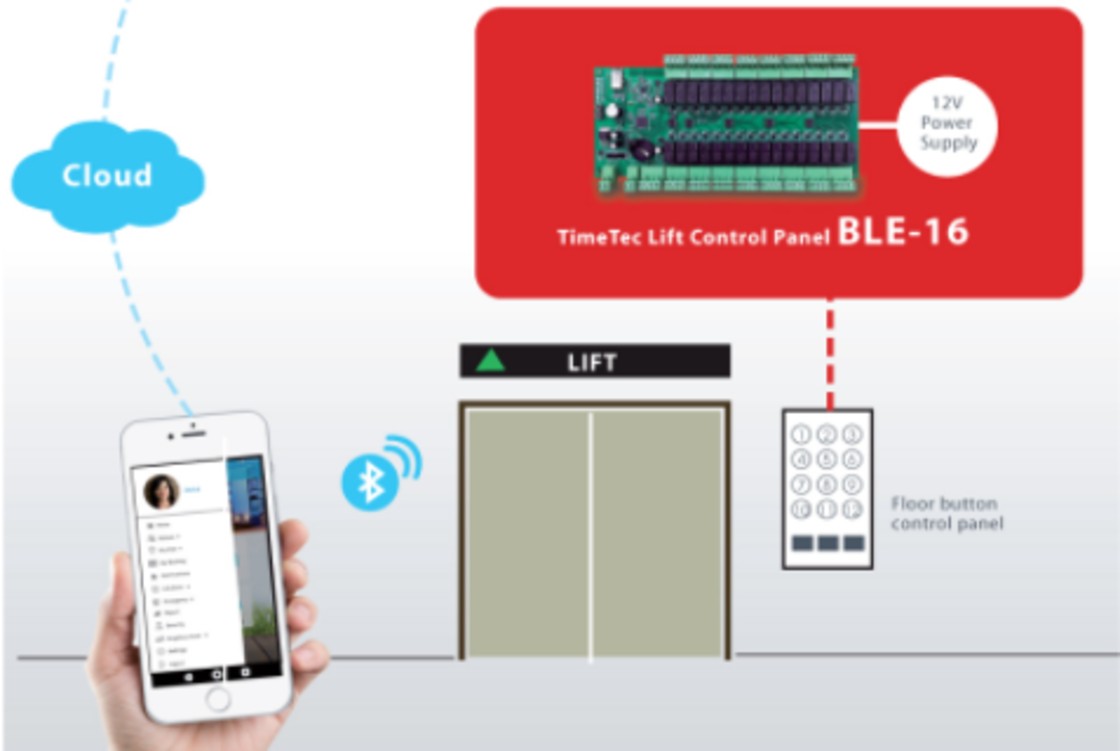
TimeTec Lift Control Panel BLE-16 is known as the TimeTec's lift controller using the Bluetooth Low Energy 4.2 technology and the power of a smartphone for lift access in high-rise buildings. Choose BLE-16 and integrate it seamlessly with TimeTec Access for cloud access control systems to achieve better security and convenience in automation simultaneously.

TimeTec BLE-16 makes elevator experience secure, convenient and centralized. All you need to do is to login to the App and tap on the pseudo-button within the App to access your floor. Refer here for more information on the TimeTec BLE-16 controller.


Process
Step 1 - Add the BLE-16 controller into TimeTec Access by going to the Access Point tab > Manage Devices > BLE Devices. Click on the Add button and insert the BLE-16’s serial number.


Step 2 - Assign the BLE-16 into Lift Access by going to Manage Lift Access > click on the Add button.


Step 3 - Label the Lift name for easier future reference. In the ‘1st Relay Board’ tab, select the added BLE-16 that is installed in that Lift. 


Step 4 - Name the floor of each channel as per wiring installation in that Lift. You may skip if you are not using it.


Step 5 - If the Lift has more than 16 floors, you will need to add another BLE-16 controller for the next 16 floors. Click on the ‘2nd Relay Board’ and select the added BLE-16 controller.


Step 6 - Name the floor of each channel as per wiring installation on that Lift for the second BLE-16 controller. You may skip if you are not using it. Click on the Submit button when the settings are done. Admin may view the details for the Lift Access in the web portal. 


Step 7 - To assign User and Access Time into the Lift,  go to the Access tab > Lift Access Group.


Step 8 -  Label the Lift Access Group name for easier future reference. Select and assign users into the group. Then, click on the Next button.


Step 9 - Select the added Lift into this group and click Next button.

Step 10 - Select the Access Time for this group to access the lift and click Submit.


Step 11 - Then, you may view the details of the Lift Access Group with the total of Lifts and Users in the group stated clearly on the page.


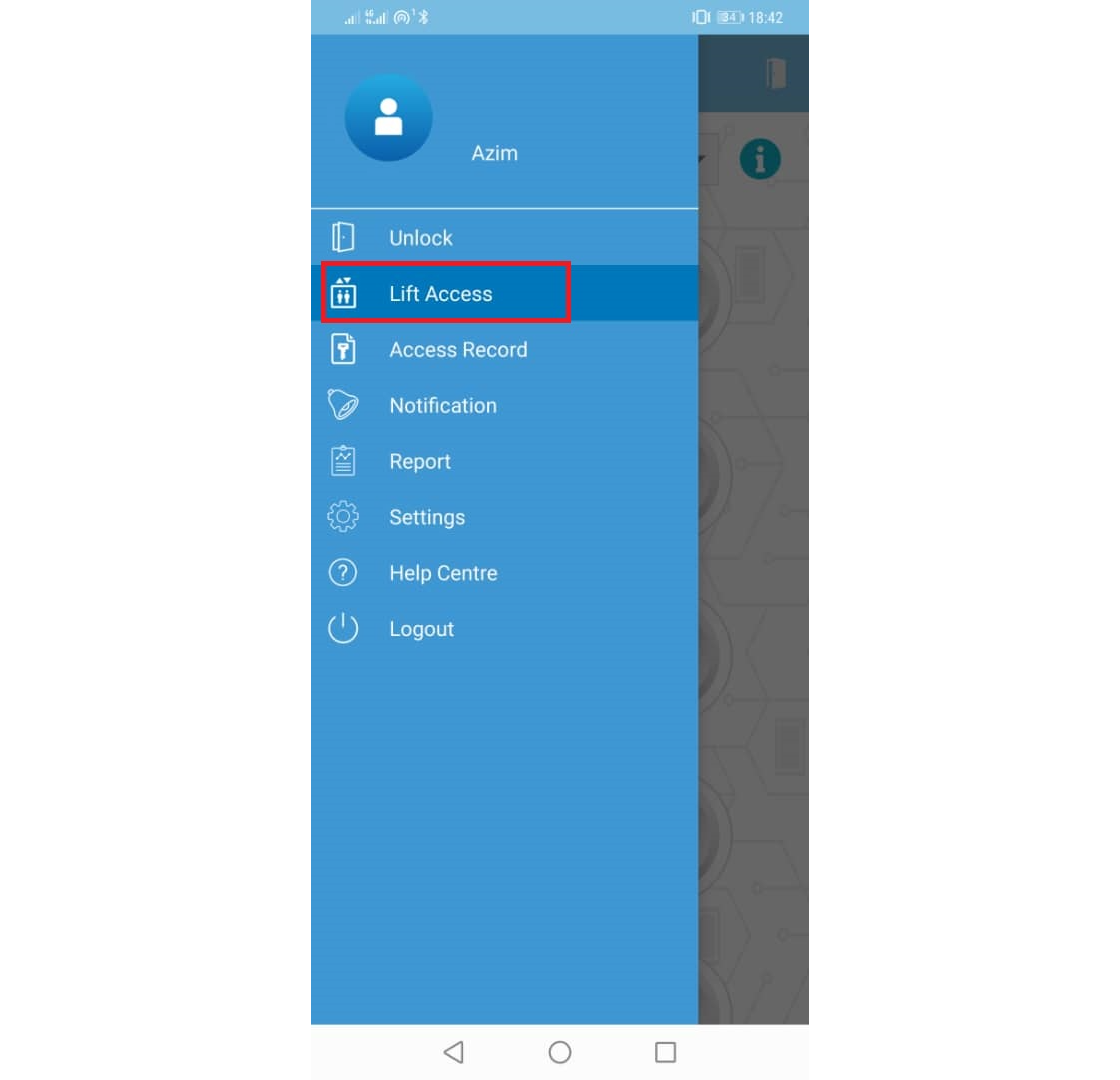
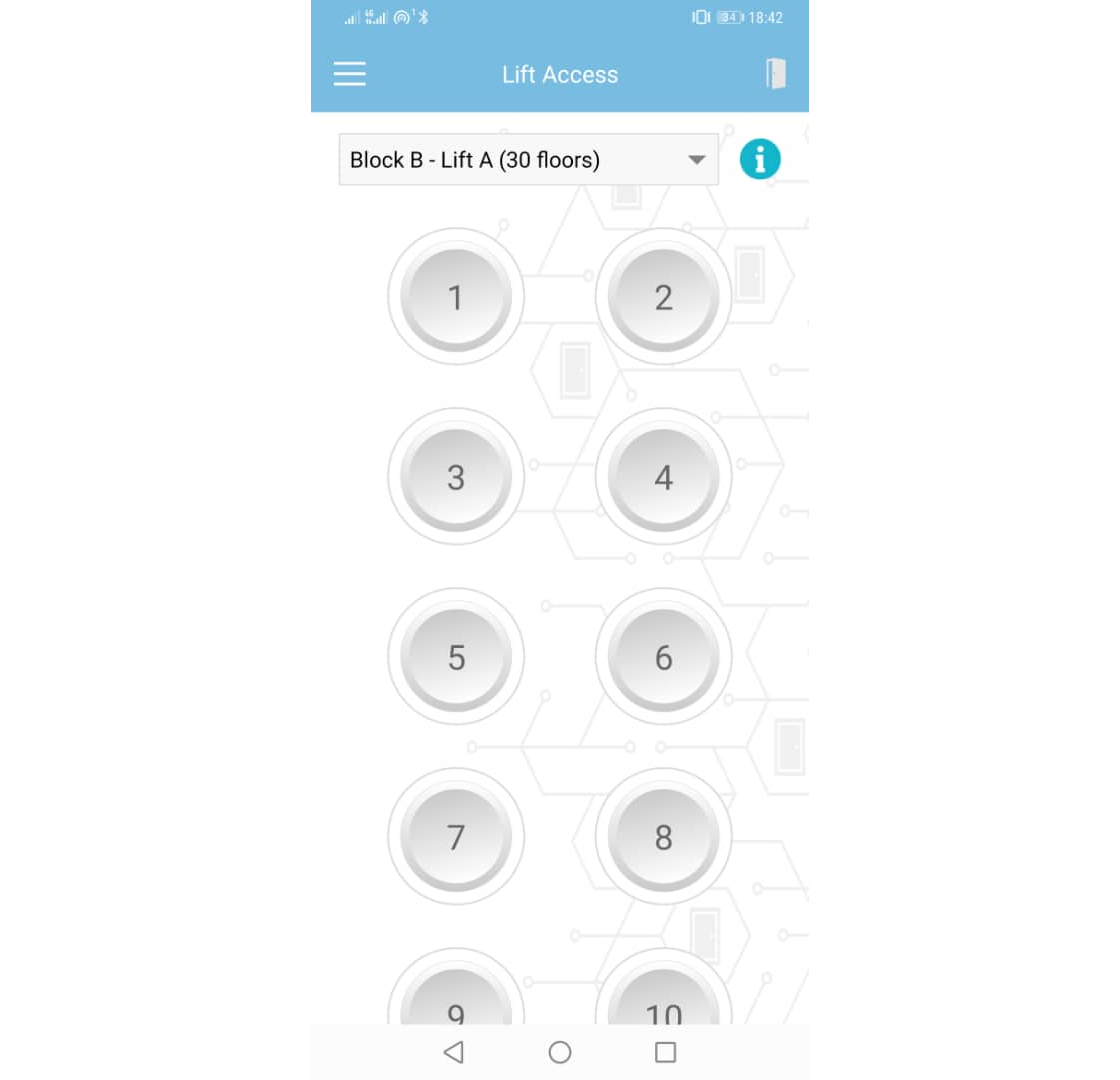
Step 12 - In TimeTec Access mobile apps, re-login to the User account in order to refresh the settings. Then, tap on the Lift tab. 


Step 13 - Tap on the Info icon to view the Access Time of the assigned users. 


Note: If some of the screenshots or steps viewed here are different from the ones in the current system, this is due to our continuous effort to improve our system from time to time. Please notify us at [email protected], we will update it as soon as possible.


0 comments:

Have any questions or inquiries about FingerTec? Drop your input here.

How to Allow New Calendar Year Leave Request

Wednesday, February 24, 2021 TimeTec 0 Comments


Introduction
Does your policy allow staff to request for leave that will be taking place in the next calendar year? To help manage such applications in the system, we have released a new feature known as the “Allow new calendar year request”. You can access this at Company > System Settings > Leave Management.

This setting allows Admin to select how they want the system to handle employees’ next calendar year leave application. There are three options, as described below:

i. No, employees are prohibited from taking leave from the next calendar year.
ii. Yes, deduct from the current balance. Employees can apply leave for the next calendar year, but the system will deduct the leave from the current leave balance.
iii. Yes, deduct from the next calendar balance. Employees can apply leave for the next calendar year, but the system will deduct the leave from the next calendar year’s leave balance.

*Note: For all subscriber accounts, the default option is set as “Yes, deduct from current balance”. This means any leave approved for year 2021 will be deducted from the 2020 balance.

Process
1. Go to ‘COMPANY’ > System Setting.


2. In the System Setting page, go to the ‘Leave Management’ setting and make the selection at  ‘ALLOW NEW CALENDAR YEAR REQUEST’. Click the ‘Tick’ button to save


Option: No - Error Message will be displayed during Application


Option: Yes, deduct from the current balance
Example:
Given a calendar renewal on the 1st of January, users can apply in April 2020 for 1 day leave on the 5th Jan 2021. Upon approval, 1 leave day will be deducted from the user’s current leave balance for year 2020.


Option: Yes, deduct from the next calendar balance
Example:
Given a calendar renewal on the 1st of January, users can apply in April 2020 for 1 day leave on the 6th of January 2021. Upon approval, 1 leave day will be deducted from the user’s leave calendar for the next year, i.e. Year 2021. The user’s current leave balance for year 2020 will remain unchanged until the calendar renewal on the 1st January next year. The leave balance of that particular day will be deducted by 1 leave day.


Note: If some of the screenshots or steps viewed here are different from the ones in the current system, this is due to our continuous effort to improve our system from time to time. Please notify us at [email protected], we will update it as soon as possible.


0 comments:

Have any questions or inquiries about FingerTec? Drop your input here.

HOW TO DOWNLOAD MISSING PERSONNEL INFORMATION (FINGERPRINT/PALM/FACE) FROM DEVICE (SMART AC1/FACE ID 5 SERIES) INTO AWDMS AND INGRESS SOFTWARE

Tuesday, February 23, 2021 TimeTec 0 Comments


Introduction
The Smart AC1 and Face ID 5 series are the new facial recognition devices with multiple verification mode options such as Fingerprint/Palm/Face/Card/Password. These new devices require connection to the AWDMS before it can be connected to Ingress software. Once the users are registered with Fingerprint/Palm/Face enrollment, these data will automatically synchronize to AWDMS. In some cases, those data are not showing in AWDMS due to the synchronization process is not completed.


This article explains the steps to manually download missing user data in AWDMS from the device.

Process
1. Open TimeTec Cloud AWDMS > Login with your Username and Password > Go to Access Module > Device > Click Device > Tick checkbox to select the Device > Click on View and Get Device Info > Click on Get Personnel Information.


2. Next, Get Personnel Information screen will pop up. Click on Obtain personnel information > Click Start.

3. Once completed, you can continue to click on Obtain palm information and Start. Repeat the same steps for Fingerprint and Face information.
IMPORTANT NOTE: Please make sure to start with Obtain Personnel Information before you continue with Palm, Fingerprint and Face information.

4. Then you can see the user data for Face is updated in AWDMS. Once the user data is updated, you can proceed to download those data to Ingress software. So, all the user data will be stored in the Ingress software.

5. Go to Users tab > Download User > Double click on AWDMS > Select User > Select Data > Click Download.


Note: If some of the screenshots or steps viewed here are different from the ones in the current system, this is due to our continuous effort to improve our system from time to time. Please notify us at [email protected], we will update it as soon as possible.


0 comments:

Have any questions or inquiries about FingerTec? Drop your input here.

How To Monitor Late in Scanning Checkpoints (Tardiness) & Reason in TimeTec Patrol

Monday, February 22, 2021 TimeTec 0 Comments


Introduction 
When guards are repeatedly tardy in scanning the checkpoints, the routines are disrupted. To help Admins assess whether there is a problem that needs resolving, guards need to provide reasons for their tardiness whenever they scan the checkpoint. Following that, Admins can then refer to the Monitoring page to see the tardiness reasons that have been provided.

Process

A. TimeTec Patrol Website 

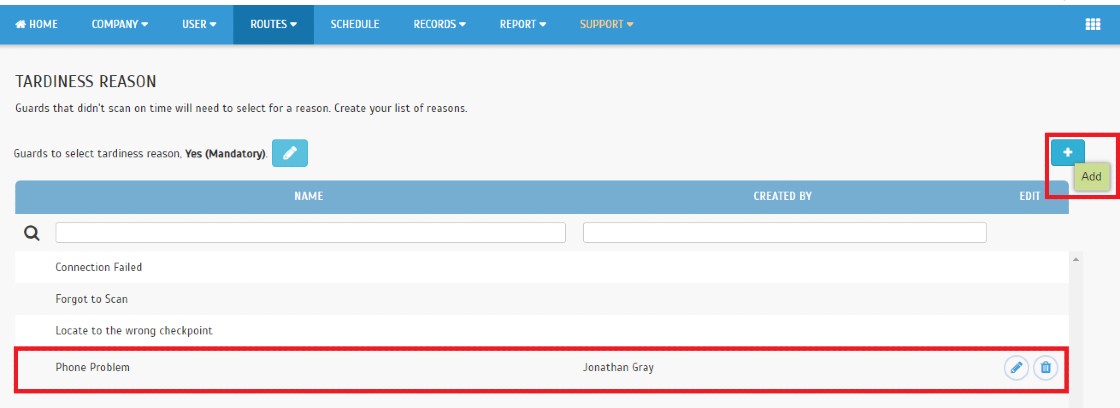
1. Go to Routes > Click Tardiness Reason. 

2. By default, the Tardiness Reason settings is disabled (No). Admin may edit the settings by clicking on the Edit button. 


3. There are 3 options Admin can set for tardiness reason :
I. No (Default Setting)
- Guards do not need to provide any tardiness reason.

II. Yes (Optional)
- Guards can choose whether they want to provide tardiness reason or not.

III. Yes (Mandatory)
- Compulsory for guards to provide a tardiness reason.


4. There are 3 default reasons provided in all accounts 
I. Connection Failed
II. Forgot to Scan
III. Locate to the wrong checkpoint


5. Admin able to Add new tardiness reason by clicking on ‘’ + “ symbol.

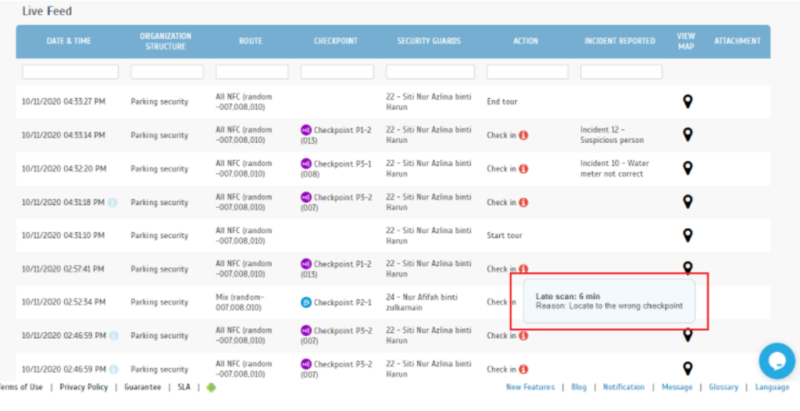
6. Admin can check Tardiness in the Monitoring Page.


B. TimeTec Patrol App
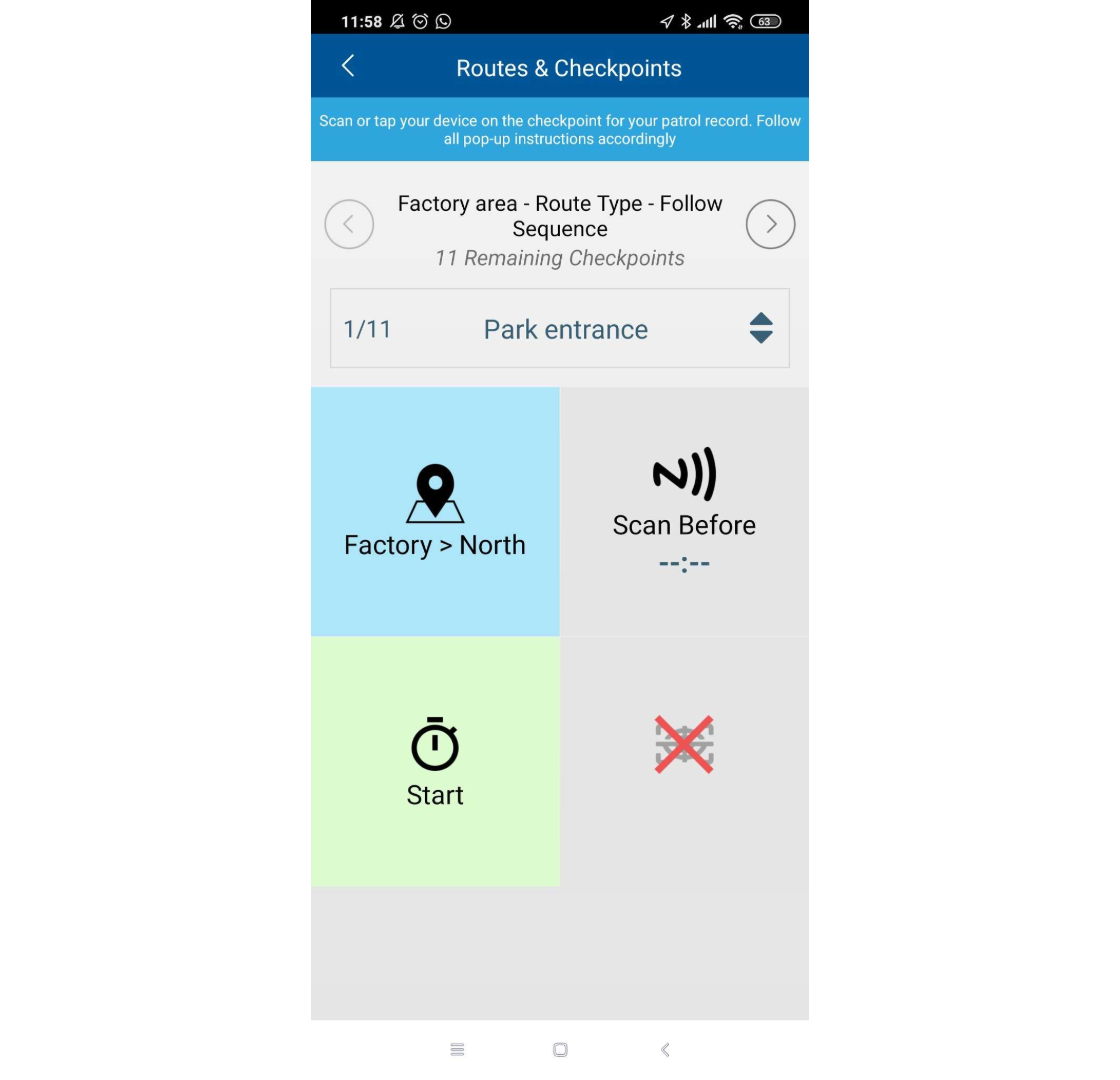
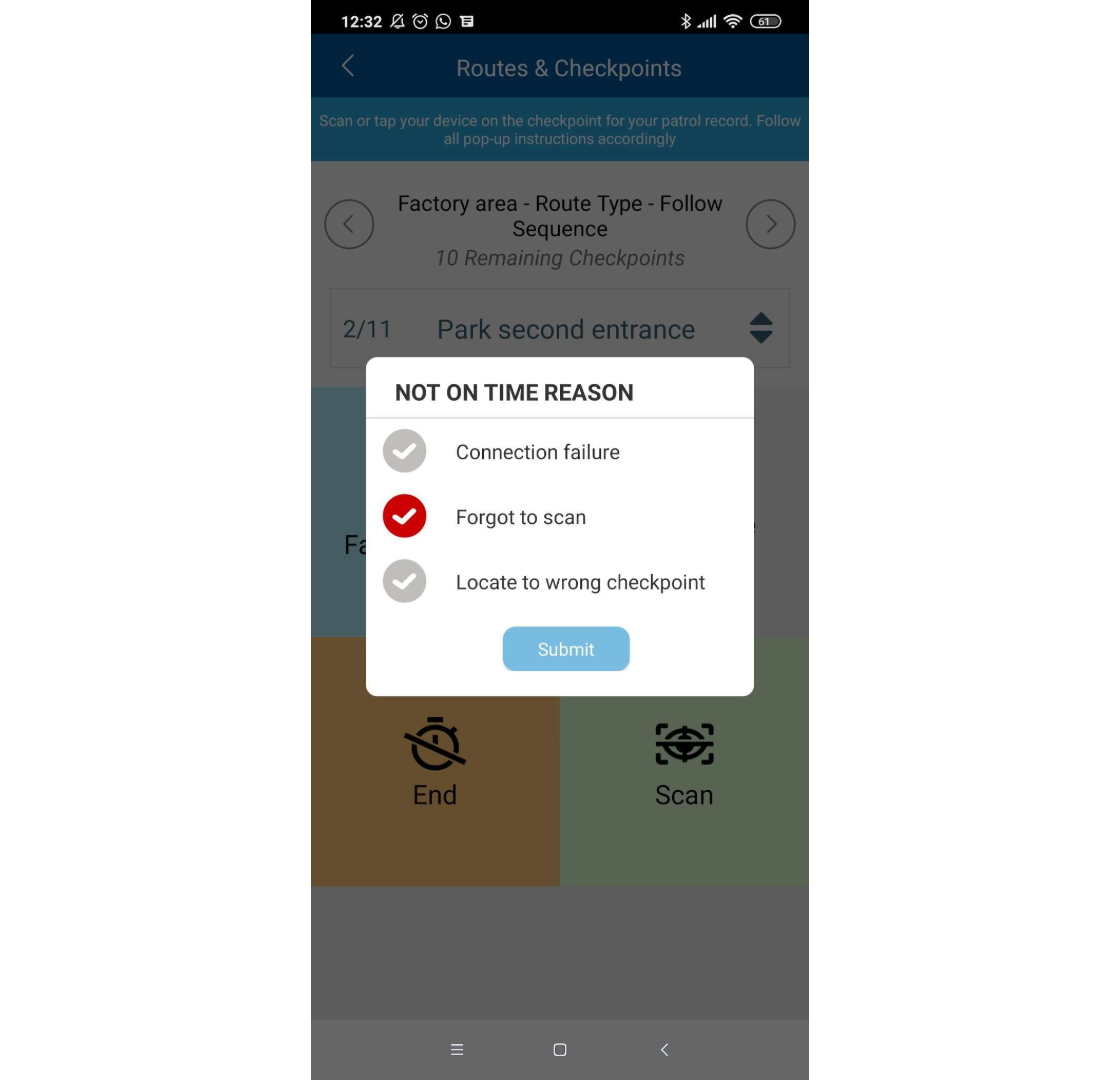
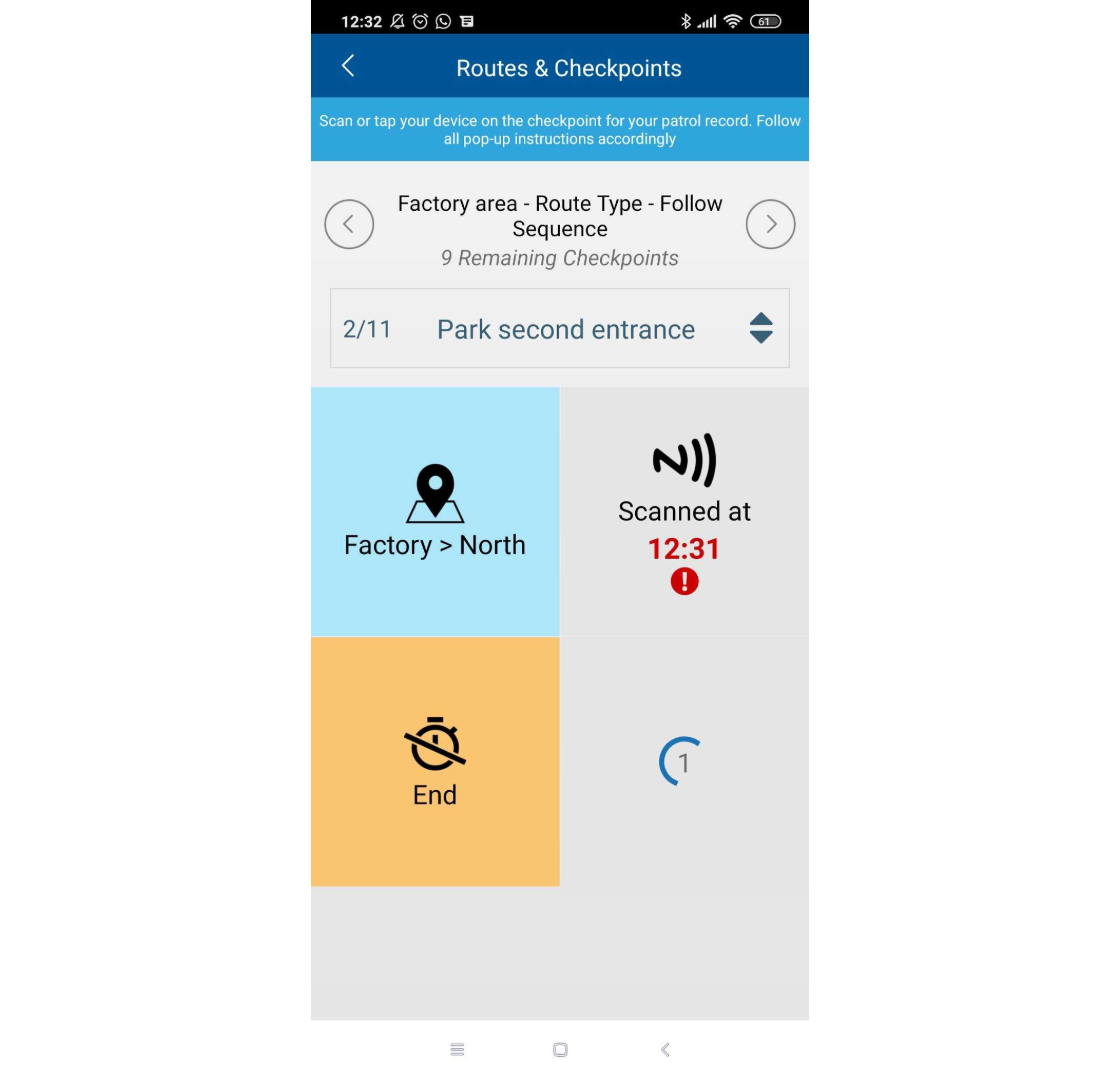
Guards need to provide reasons for their tardiness whenever they scan the checkpoint using the app.


Note: If some of the screenshots or steps viewed here are different from the ones in the current system, this is due to our continuous effort to improve our system from time to time. Please notify us at [email protected], we will update it as soon as possible.

0 comments:

Have any questions or inquiries about FingerTec? Drop your input here.