Introduction
By centralizing the Ingress database in a specific PC, you can minimize data redundancy as all the data is stored together and not scattered across different locations. To centralize the database in one specific location, you may link all the devices from the remote locations to the main HQ PC by implementing DDNS (Port Forwarding). You can manage users and transaction logs in the main HQ PC even though the devices are installed in other branches.
Process
1. Main HQ PC
a. You need to install the Ingress MySQL and AWDMS accordingly. Both Ingress and AWDMS MUST BE INSTALLED on the same PC. Please install Ingress MySQL Server first, followed by the AWDMS.
b. Kindly check the PC IP address for the PC installed and the Port Number for the device to connect with the AWDMS
· To check PC IP address:
Go to Start Menu > Type cmd > ipconfig > check the PC IP Address
· To check the device port number to be linked with the AWDMS:
Go to AWDMS web browser > Device icon > click Search Device > You will be able to view the Port Number
Remark: The default Port Number is 8088 unless you change it during the AWDMS installation process
2. Main HQ Router
Kindly note that we do not provide direct assistance regarding network support including VPN, DDNS or port forwarding configurations. As a different router requires a different network configurations, it is best to get your IT expertise or local network engineer to provide assistance on this router configuration.
a) Configure the DDNS URL (ex:abc.ddns.org )
b) Port Forwarding: Redirect incoming request for port 8088 to 192.168.1.102 (PC IP Address installed with Ingress and AWDMS)
Remark:
- Please make sure you allow both Incoming and Outcoming for port 8088.
- Besides port 8088, please make sure that you also do not block all the listed port numbers in your router and firewall settings.
· 3000 (Port for Ingress software)
· 3306 (Default Port for Ingres MySQL)
· 4370 (Device Port)
· 8098 (Link Ingress – AWDMS software)
3. Remote Location
a) Make sure that the device is connected with the Internet connection either using TCP/IP or WiFi
b) Connect the device to the AWDMS server (Main HQ PC) by pointing it to the DDNS URL ( ex: abc.ddns.org)
To configure the AWDMS settings in the device:
Go to Menu > Cloud Server setting > Turn on “Enable Domain Name” > Set the server IP: abc.ddns.org:8088
4. Main HQ PC
a) Upon configuring the settings above, check whether devices from the remote locations are connected to the AWDMS or not.
Go to AWDMS web browser > Device icon > click Search Device > It will list all the devices connected to the AWDMS
b) Once successful, you may add all the remote location devices in the Ingress software and manage all the users and transaction logs accordingly.
Note: If some of the screenshots or steps viewed here are different from the ones in the current system, this is due to our continuous effort to improve our system from time to time. Please notify us at [email protected], we will update it as soon as possible.
Introduction
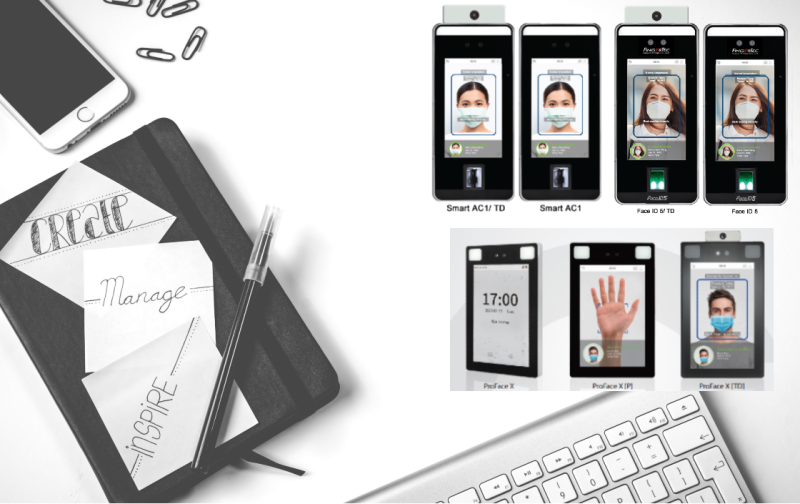
The Smart AC1 and Face ID 5 series are the new facial recognition devices with multiple verification mode options such as Fingerprint/Palm/Face/Card/Password. These new devices require connection to the AWDMS before it can be connected to Ingress software. Once the users are registered with Fingerprint/Palm/Face enrollment, these data will automatically synchronize to AWDMS. In some cases, those data are not showing in AWDMS due to the synchronization process is not completed.
This article explains the steps to manually download missing user data in AWDMS from the device.
Process
1. Open TimeTec Cloud AWDMS > Login with your Username and Password > Go to Access Module > Device > Click Device > Tick checkbox to select the Device > Click on View and Get Device Info > Click on Get Personnel Information.
2. Next, Get Personnel Information screen will pop up. Click on Obtain personnel information > Click Start.
3. Once completed, you can continue to click on Obtain palm information and Start. Repeat the same steps for Fingerprint and Face information.
IMPORTANT NOTE: Please make sure to start with Obtain Personnel Information before you continue with Palm, Fingerprint and Face information.
4. Then you can see the user data for Face is updated in AWDMS. Once the user data is updated, you can proceed to download those data to Ingress software. So, all the user data will be stored in the Ingress software.
5. Go to Users tab > Download User > Double click on AWDMS > Select User > Select Data > Click Download.
Note: If some of the screenshots or steps viewed here are different from the ones in the current system, this is due to our continuous effort to improve our system from time to time. Please notify us at [email protected], we will update it as soon as possible.
Introduction
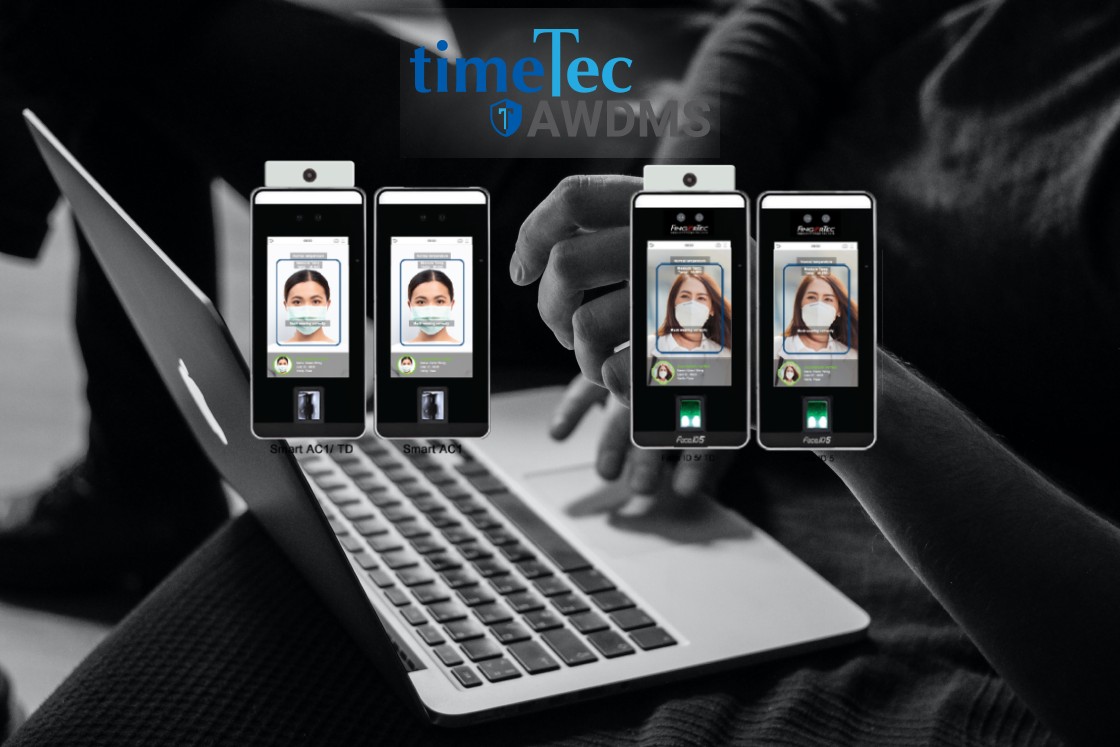
TimeTec new models such as Smart AC1/TD and Face ID 5/TD carry new firmware and architecture that need a new SDK set to make sure seamless integration of hardware and software. Therefore, TimeTec introduces AWDMS as the middleware between Ingress and the devices.
Many users do not get a clear picture of how to connect the devices to AWDMS and Ingress. To accomplish this, you just need to follow the below steps.
Process
1) If you use LAN connection, configure the IP Address, Subnet Mask and Gateway on your device. Go to Menu > COMM. > Ethernet.

2) Configure the Server Address and Server Port on your device. Go to Menu > COMM. > Cloud Server Setting.

Note: Server Address is your computer IP address where the Ingress and AWDMS are installed. You can check it using Command Prompt and type in ‘ipconfig’.

Server Port is the default port which is 8088 or you can check it in AWDMS. Go to Access module > Device > Search Device.

3) Before you can activate your device in Ingress, you need to make sure that you are able to search it in AWDMS. Go to Access module > Device > Search Device > Search.
Note: Once the device is found, DO NOT add it via AWDMS. You only need to add it in Ingress.

4) Add the device in Ingress. Go to Devices > Add Device > Fill in the Device Name, Serial No. and choose the Communication Mode as AWDMS > Add.


Note: If some of the screenshots or steps viewed here are different from the ones in the current system, this is due to our continuous effort to improve our system from time to time. Please notify us at [email protected], we will update it as soon as possible.


2.jpg)
1.jpg)
2.jpg)
2.jpg)


1.jpg)

1.jpg)
.jpg)

.jpg)
.jpg)
.jpg)
.jpg)

.jpg)
.jpg)
.jpg)
.jpg)


