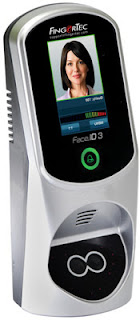
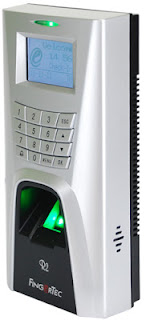
FingerTec have updated Face ID 3 firmware to include the much anticipated feature: Per Day Verification Type as well as an additional Verification type - Face or Password & Card.
Feature Description
With Per Day Verification, user can now set a specific verification style for a particular day and time. For example, the usual Monday to Friday can be customized to “Face Only” during office hours (8am – 5pm), and “Face & Card” for out of office hours (5pm – 8am) while Saturday and Sunday can be arranged to “Face & Card” for the whole day.
This feature is suitable for company who wishes to strengthen their security after working hours and during rest days.
Feature Settings
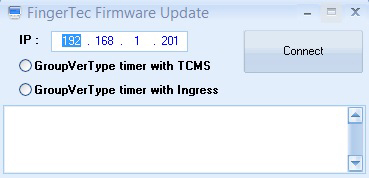
To enable this feature in Face ID 3, first you need to update the firmware to version 4835-01 or later. Then download a tool from the link below in order to enable this function.
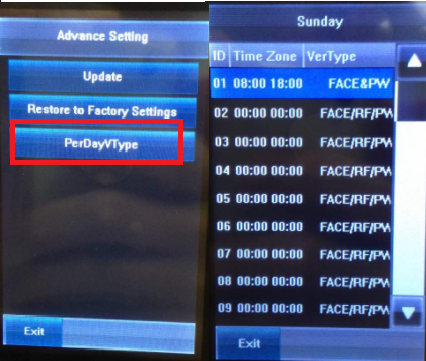
The settings of this feature can be manually set in the device [System > Advance Setting > PerDayVType] as shown in the picture below.
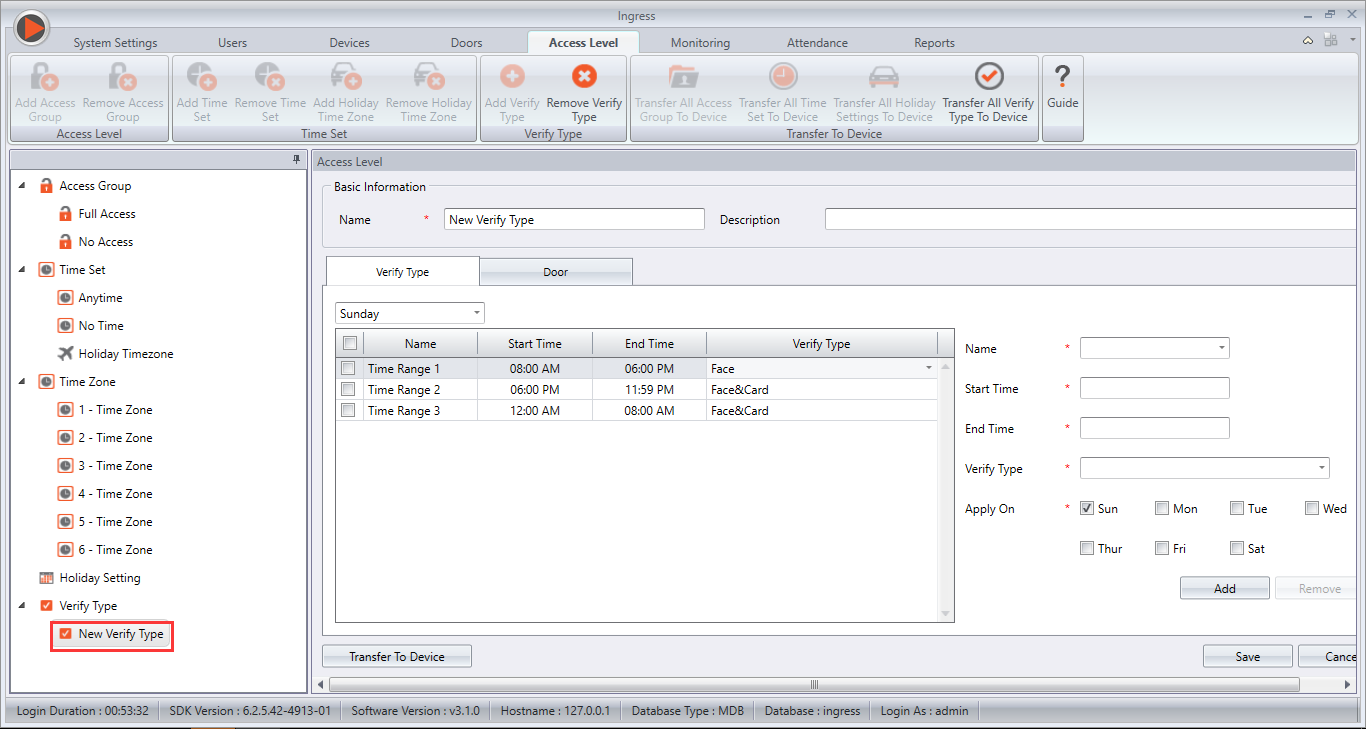
Alternatively, if the Face ID 3 is connected to Ingress Software, the settings can then be done under Access Level > Verify Type. After setting up the verify types and time zone, please make sure to Add Door and synchronize the device in order for it to take effect.
Remark: If PerDay Verification Type is turned ON, group and individual verification type will not be active. If timezone is not set in PerDay Verification Type, default type will be selected instead, which is Face, Password or Card.
Introduction
The new Face ID 2 has recently been
updated
to
FMM 220 firmware. With it’s improved, up-to-date and much-friendlier user interface, Face ID 2 offers a few new and enhanced features that will definitely benefit its users. However, this new firmware also comes with a few errors that you might encounter and the good news is, we have a quick fix for you if you encountered these errors while running your Face ID 2.
1. AdapTec Plus is Not Working Properly
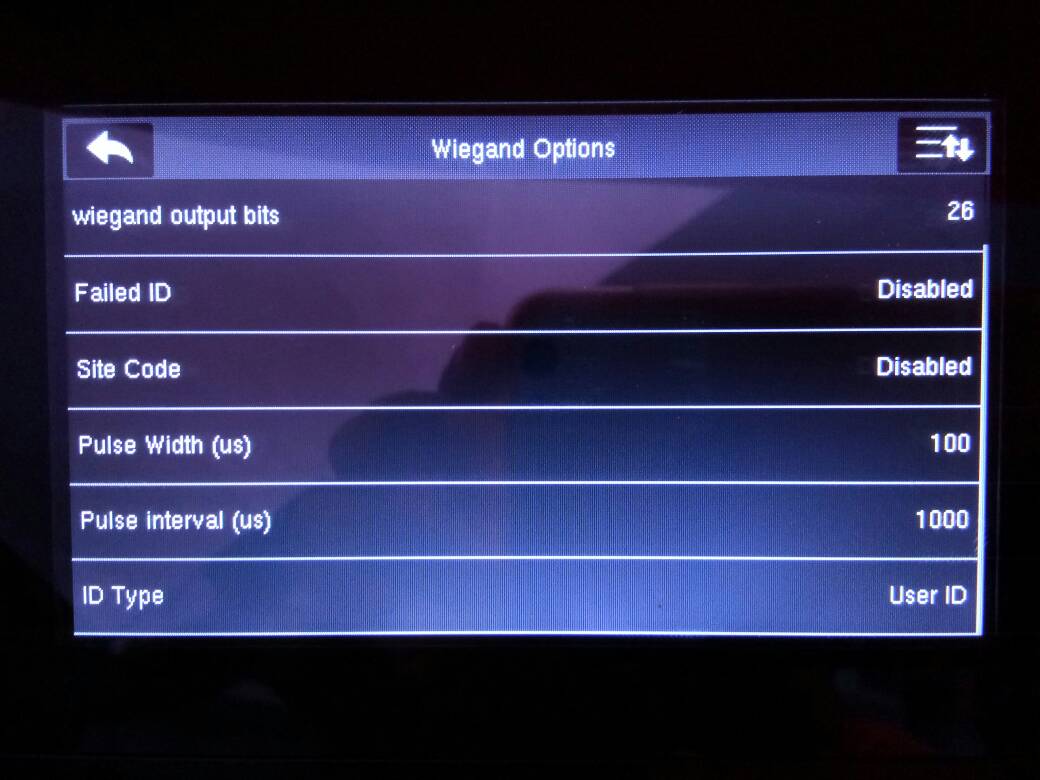
You have connected a Face ID 2 with AdapTec Plus and the AdapTec Plus is not properly working. Bear in mind that the default settings for AdapTec Plus or AdapTec X is to emit a beeping sound whenever a verification is done. However, if there is no beeps emitted from Face ID 2, you can check the settings as below:-
Menu > Comm > Wiegand Setup > Wiegand Output > ID Type = User ID (Please use “User ID” because The term “Card ID” wouldn’t work on AdapTec Plus).
Note: You need to set this settings again if you reset the device to factory settings.
 2. The Face is Not Detected
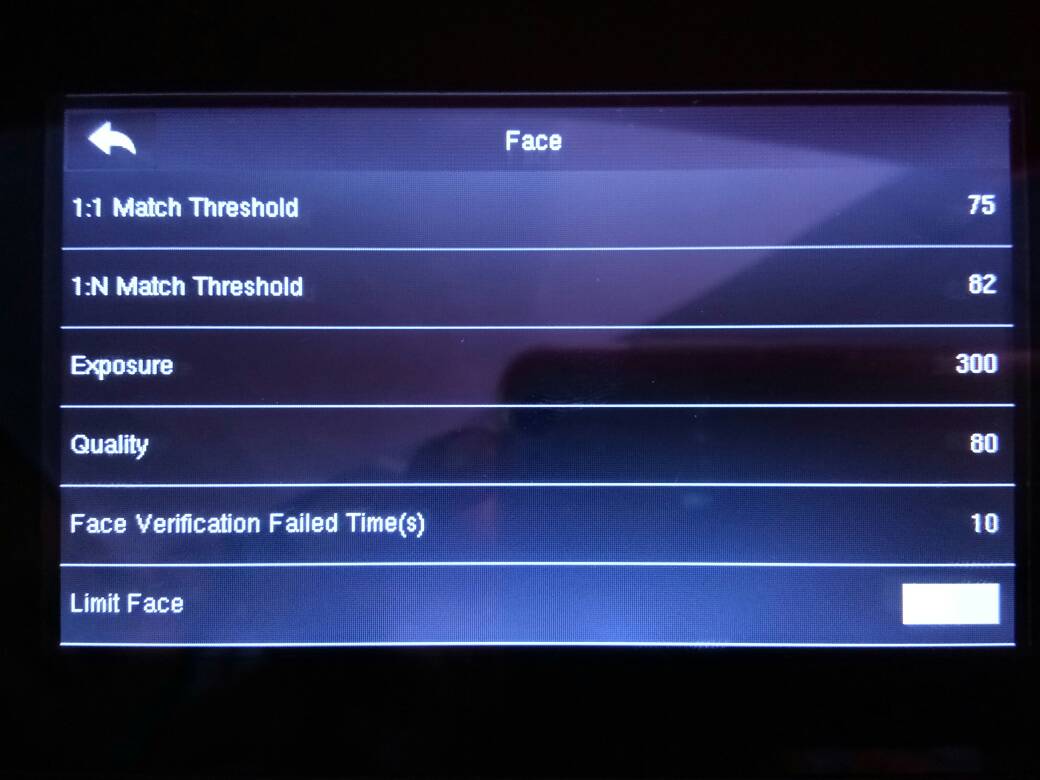
“Limit Face” is a setting to let the machine automatically detect facial features when a user is facing Face ID. By default, the “Limit Face” will be disabled which means whenever a user is facing Face ID, the machine will detect his/her face. By enabling “Limit Face”, a user needs to select his/her clocking type such as Clock In or Clock Out before the machine will detect facial features. By using this method, the clocking type will remain the same if the next person didn’t change the clocking type when he/she clocks if the next person is using other verification method other than face (fingerprint/password). To always get the right Clocking Type, users need to select his/her own clocking type before using Face ID 2. Follow the steps below to set “Limit Face” feature:
Menu > System > Face > Limit Face = disable/enable
Note: We strongly recommend you to disable this feature to provide convenience to users.
 3. Verification Successful but the Screen is Showing Duplicate Punch
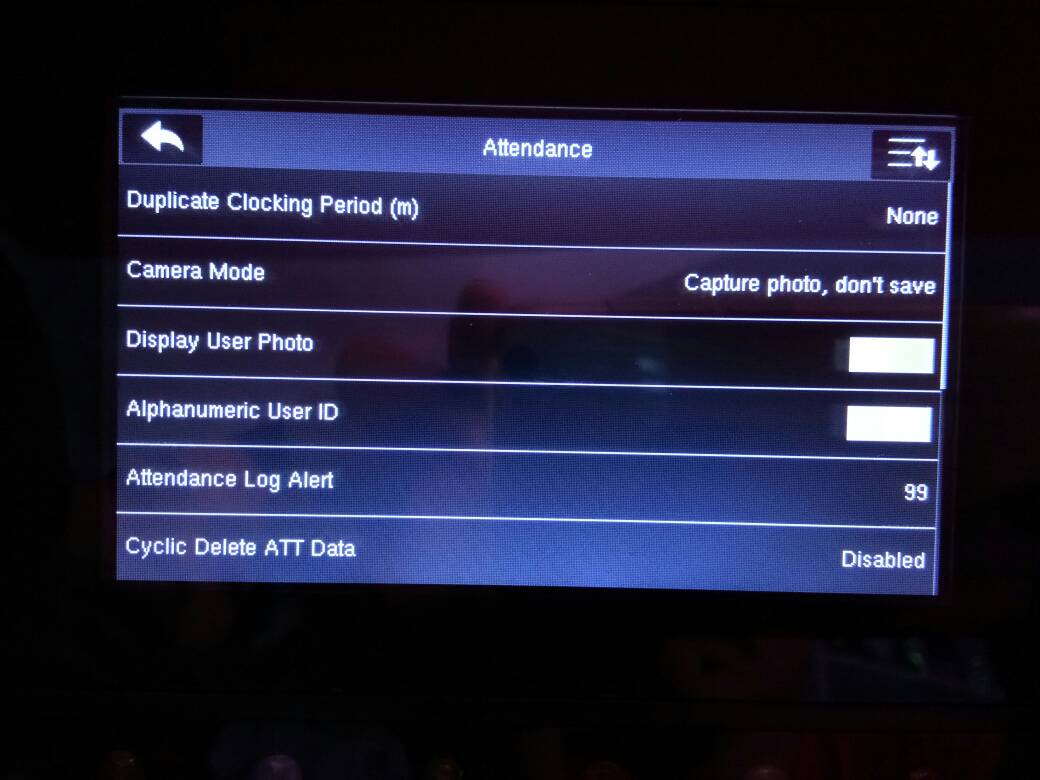
“Duplicate Punch” message will appear whenever a user verifies more than once after his/her initial verification. This is caused by the amount of time you set in the settings to avoid duplicate punches. You can set the amount of time in which the message will appear or just shut it off altogether.
To shut off the message, please follow the settings below :
Menu > System > Attendance > Duplicate Clocking Period (m) = None
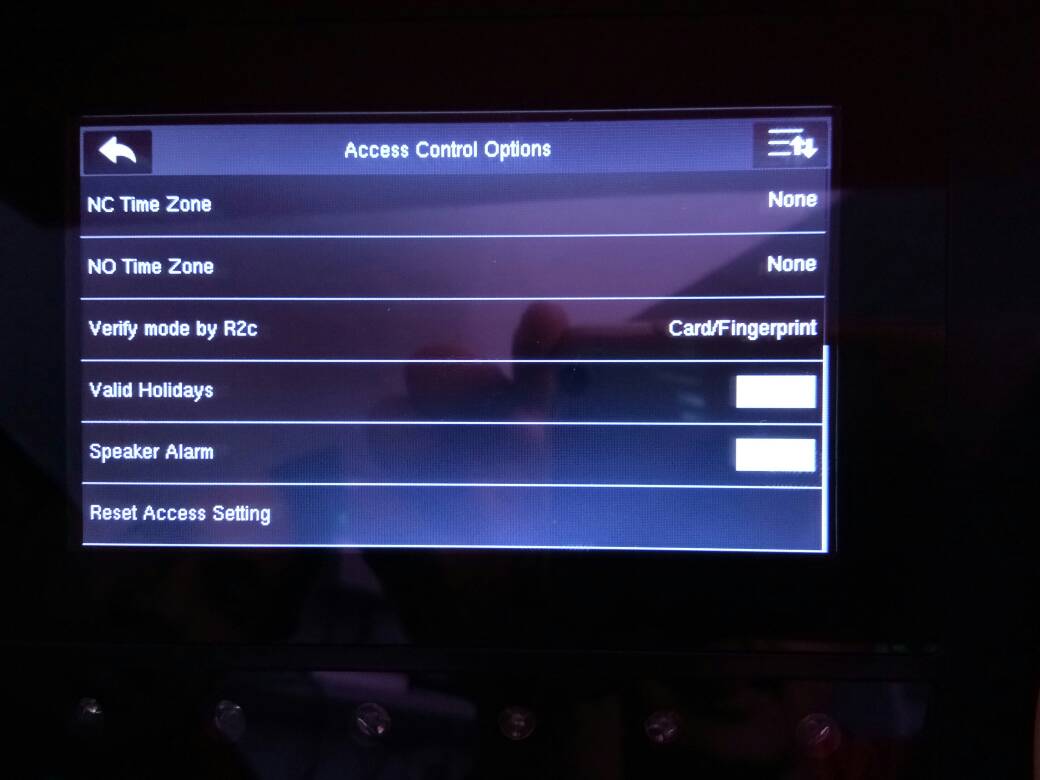
 4. Alarm Sound Activating on Speaker
This alarm is triggered whenever the tamper switch at the back of device is released. This feature is important for door access use since the device is usually attached to a wall. Therefore, the alarm will go off if someone tampers or decides to remove the device. If you happen to use the device for the purpose of time attendance only, please follow the steps below to disable the speaker alarm
Note: the alarm sign will still be showing on the device
If you want to disable the alarm sound on the speaker
Menu > Access > Access Control Option > Speaker Alarm = Disable
If the Tamper Switch is released, the alarm will be muted on the speaker, but the alarm icon will still be showing on the Desktop Screen and this will in turn trigger the External Alarm.
To turn off the alarm sound when triggered, press the Tamper Switch and restart the device. Once you have done this, there will be no “Turn Off Alarm” pop up message will appear on Face ID 2 FMM.
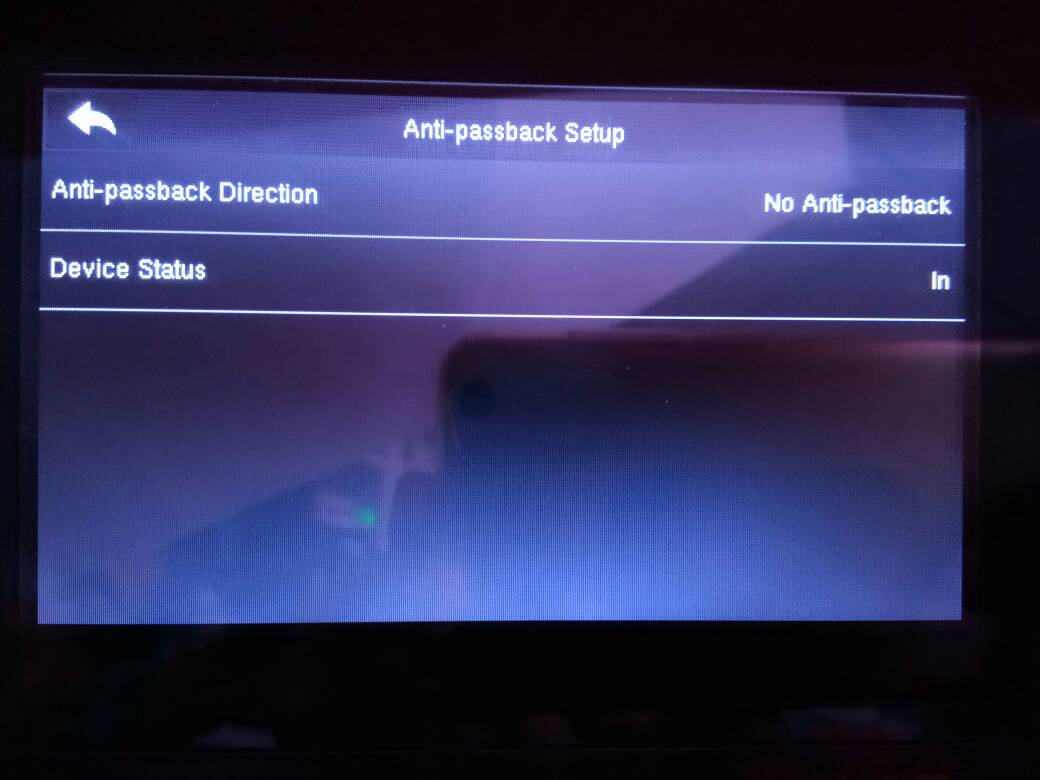
 5. Registered User is Given an “Illegal Access” Message during Verification
This situation usually happened if the anti-passback settings are enabled.
Follow this simple step to turn off or disable the settings :-
Menu > Access > Anti-passback Setup > Anti-passback Direction = No Anti-passback
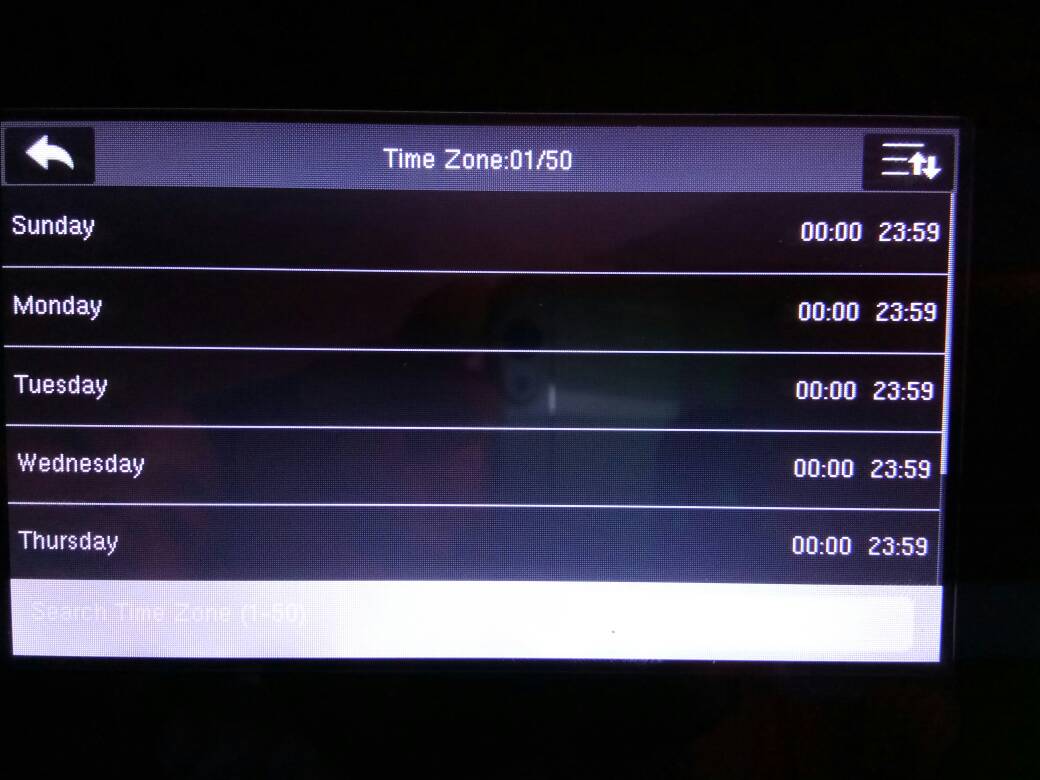
 6. Registered User is Given “Invalid Time Period” message during verification
To overcome this issue, first you need to check your device’s time zone settings and ensure that it is YOUR Time Zone. Below is how you check your Time Zone:
Menu > Access > Time Zone
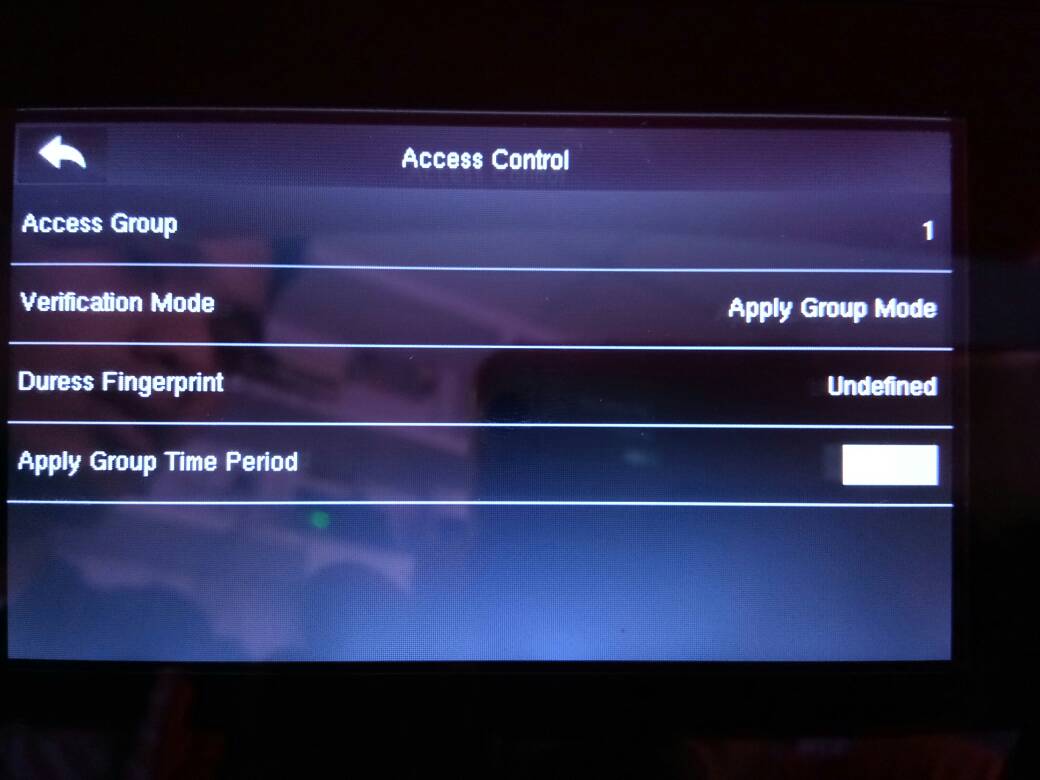
If you are already within your Time Zone, please check the user's access Group settings:
You must make sure that it is configured as below :-
Menu > User Management > All User > select User ID > Edit > Access Control Role > Access Group
 7. Door Sensor Settings
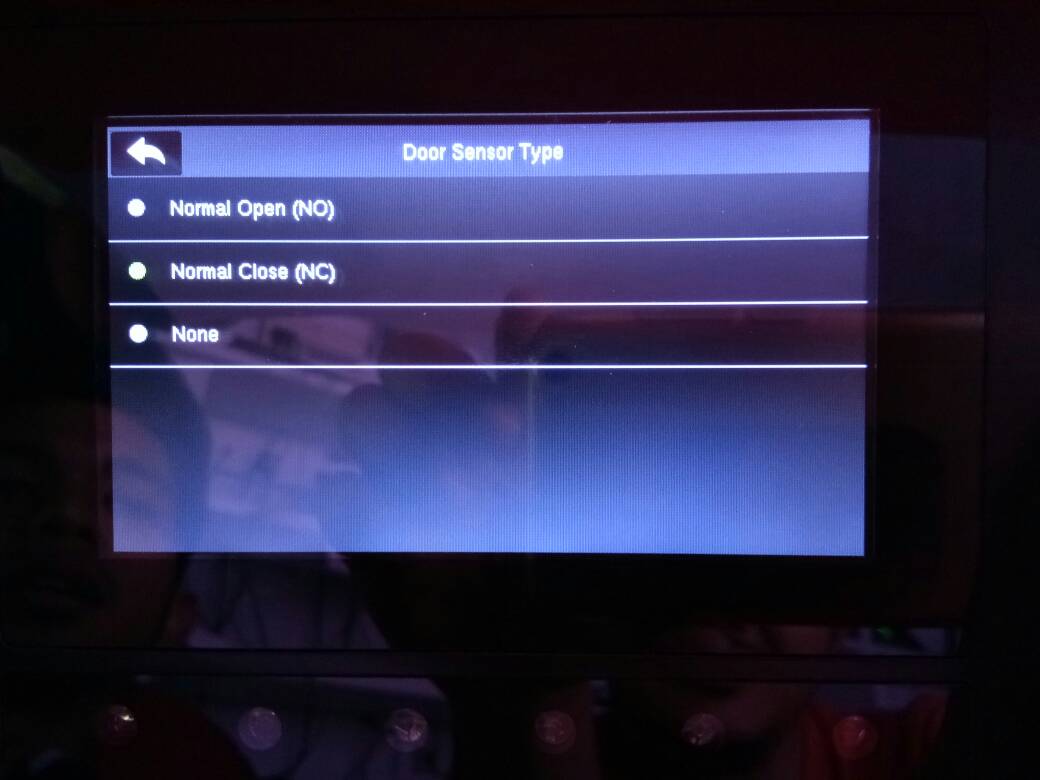
When you are using the door access terminal, you can choose the Door Type option for the door to be used as normally open or normally close. When it is normally close, the door will be closed again after a successful access.
- Enable Door Sensor on Menu > Access > Access Control Options > Door Sensor Type = NC
 8. Using R2c on Face ID 2 / FMM 220
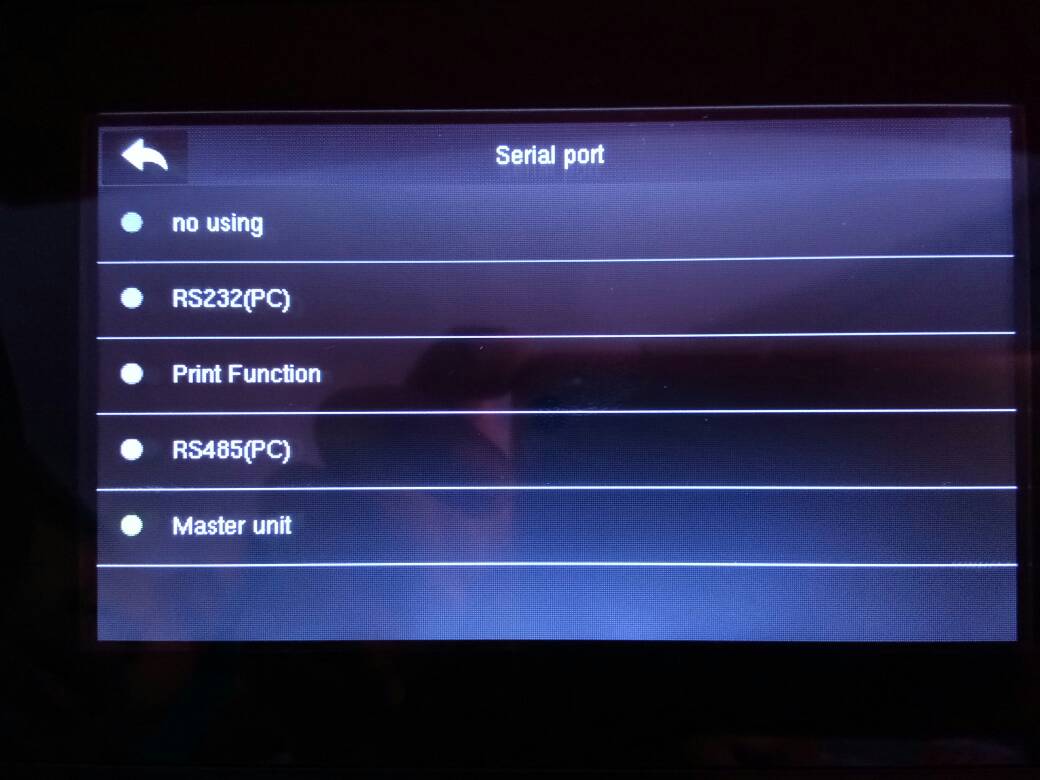
If you want to use R2c as slave devices for Face ID 2 with FM 220; besides having a proper wiring diagram, you need to also enable the feature below :-
- Menu > Comm. > Serial Port > Master Unit/R2c
Introduction
Most
of our clients have switched from TCMS V2 to Ingress. Therefore, for those who are using door access
terminals such as AC900 FEM565 / R2
FEM565 / KADEX FEM500, they will need to update their devices with a unique
firmware to fully utilize the door access features in Ingress.
Benefit
The
firmware update will let users utilize the door access features on their
existing terminals through Ingress.
Process
1)
Download the firmware update tool*
2)
Close PC’s Wifi connection / anti
virus / firewall before running the .exe file
3)
Key-in the IP Address
4)
Choose the GroupVerType timer with
Ingress.
5)
Click Connect > Update >
Restart.
*Please refer to your Reseller for this firmware update.
In
case you want to switch back from Ingress to TCMS V2, you can roll-back the update
by choosing the GroupVerType timer with TCMS V2.
Previously,
our Face ID terminal camera will automatically perform facial identification
during the verification process and or in the situation when users can be
detected within the vicinity of the terminal.
Responding
to our customers’ feedback, our R&D team have come out with a new firmware
enabling users the option to select whether they want the terminal to
automatically perform face identification.
You can download the latest face ID 3 firmware
here.
New
Feature
In
addition to that, we have also come up with a new feature for Face ID 3. This
feature makes it compulsory for users to select any status key on the screen of
the terminal (i.e. Check-in, OT-out, etc.) before switching on the camera for
verification.
Go
to Menu > System > Log Settings > Limit Face > Select either ‘Yes’
or ‘No’.
If
‘Yes’ is selected, users must press the status key before verification in order
for the camera function to be activated.
If
‘No’ is selected, the camera will automatically scan the users even though they
are just merely passing by. However, this function will speed up the
verification process as you do not need to press any key before verification.
Previously, it was reported that it would be a delay in door release when the card was produced in front of the R2 and Kadex terminal.
FingerTec
has released the new firmware for both R2 and Kadex to solve this issue.
You can now download the Kadex's & R2’s latest firmware here.
Now you can pair a Thermal Receipt Printer with Face ID 3! A receipt can be printed after every clocking in is done at a Face ID 3 terminal. Currently, the thoroughly tested model of a Thermal Receipt Printer that works with Face ID 3 is the EPSON TM-T88IV (sold in Malaysia). However, the same printer model might consist of different configurations in different countries.
To enable the printer option with Face ID 3, you need to update the device with the latest Firmware. Please refer to the steps below:
FingerTec has developed a new, added safety feature for Face ID 3 and Face ID 4/4d! When a face template fails to be identified by a terminal after a certain period of time, a photo of the face will be captured and stored. Below are some sample screenshots for a failed verification:
 |
| Failed verification in Face ID 3 |
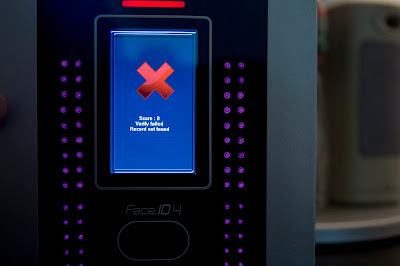 |
| Failed verification in Face ID 4 |
This is useful as administrators can trace back and determine the failure frequency of a particular individual by using FingerTec's TCMS V2 software.
The fail time period of each terminal is set to 10s by default. However, the time period is adjustable. To do so, simply follow the steps below:
Menu > System > Log Settings > Face Fail Time > Enter desired
duration
The latest firmware update for Face ID 4, R2 and m-Kadex has now been released to include bug fixes, new features and enhancements. To download them, click here. Read below for an overview of what is included in each update:
Face ID 4
Firmware version:Ver 8.0.0 (Build 359)
- Upgrade Door Event Function to support offline mode
- Integrate False Log Function
- Resolved bugs found when connected with TimeTec
R2
Firmware version: Ver 2702-04
- Resolved device transaction data's slow return time to TimeTec
- Resolved R2c's no response issue
m-Kadex
Firmware version: Ver 6.23 (build 2880-01)
- Upgrade to support usage of Period Door Open function with Adaptec Plus
Initiated & written by: Jazz
FingerTec Worldwide has released its very first firmware for
Face ID 3 and R2 (FEM565). To download, click
here. So, what are the new features in the firmware?
1.
Customized TimeTec connection using URL
To connect the Face ID 3 to
TimeTec, you will need to insert the TimeTec server’s static IP Address. With
the new firmware, you can opt to insert TimeTec’s URL link instead of the
static IP Address.
2.
Save / Do not save ‘Time Zone Denied’
data
In the new firmware, you will have the option to save or not to
save the ‘Time Zone Denied’ log previously only available through the FingerTec
Terminal Function Tools.
1.
Wiegand Permanent door Open using
Adaptec Plus
By uploading this firmware, the R2 (FEM
565) will have the option to enable the Wiegand ‘permanent door open’ using
AdapTec Plus.
Initiated and Written by: Jazz Lee

