How to Solve the Failed to Upgrade Database Error in Ingress MySQL Software

Friday, October 21, 2022 TimeTec 0 Comments


Introduction
Whenever a user is unable to launch Ingress software, it will require you to run Ingress DB Installer to connect the software with the database again and complete the steps Test Connection > Update Connection > Upgrade Database.
Sometimes, when it comes to Upgrade Database, an error message “Failed to Upgrade Database” will appear. This error message occurs due to some of the tables in the Ingress database having crashed or being corrupted. The following tips provide you with a solution to resolve this problem quickly.

1. Download the SQL yog community software from the link according to your operating system.
 
• For an operating system in 64-bit please download SQL yog from:
https://s3.amazonaws.com/SQLyog_Community/SQLyog+12.2.1/SQLyog-12.2.1-0.x64Community.exe
 
• For an operating system in 32-bit, please download SQL yog from:
https://s3.amazonaws.com/SQLyog_Community/SQLyog+12.2.1/SQLyog-12.2.1-0.x86Community.exe
 
2. After successfully installing the SQL Community, please run the software to connect with the MYSQL database. First, you need to fill in the required Host address, Username and Port of the MYSQL database. Then, click on Test Connection and Connect.

3. Upon connecting to the localhost database, you should see on the left panel of the window a list of the Ingress database. Next, click on Tools > Table Diagnostic.

4. Next, select ingress database > Tick Use_Frm, Local and Extended checkbox > Click on Repair.

5. Please wait until the Repair process is completed and Table Diagnostic Information will prompt out. Then, you can click OK to close the windows.

6. Next, tick the Local checkbox and click Optimization. Once completed, it will prompt out Table Diagnostic Information.

7. Once the Repair and Optimization are completed, please run Ingress DB Installer. Complete all the steps Test Connection > Update Connection > Upgrade Database. When you click Upgrade Database, you will not face the ‘’Failed to Upgrade Database error’’ anymore.

Note: If some of the screenshots or steps viewed here are different from the ones in the current system, this is due to our continuous effort to improve our system from time to time. Please notify us at [email protected], we will update it as soon as possible.
 

0 comments:

Have any questions or inquiries about FingerTec? Drop your input here.

How to Request and Approve Overtime in Timetec HR App

Friday, October 21, 2022 TimeTec 0 Comments


Introduction
Some companies do not provide Overtime for all staff. Staff entitled to overtime need to request overtime approval from their approver before they can proceed to work overtime. Using the Timetec HR app, the overtime application process will be more convenient for both regular users and approvers. Here we will be discussing how to request and approve overtime via the Timetec HR app.

Process
A. Request Overtime

1. Login to the Timetec HR app > Click on the Options button.

2. Click on the My Request icon.

3. On the new pop-up notification, select Overtime.

4. Click on the + symbol to add a new overtime request.

5. Fill up all the required information in the request module and click the Submit button once the data is filled in.
Remark: Any user who is set as an Admin in the system’s role, can apply Overtime for themselves and also on behalf of other users.

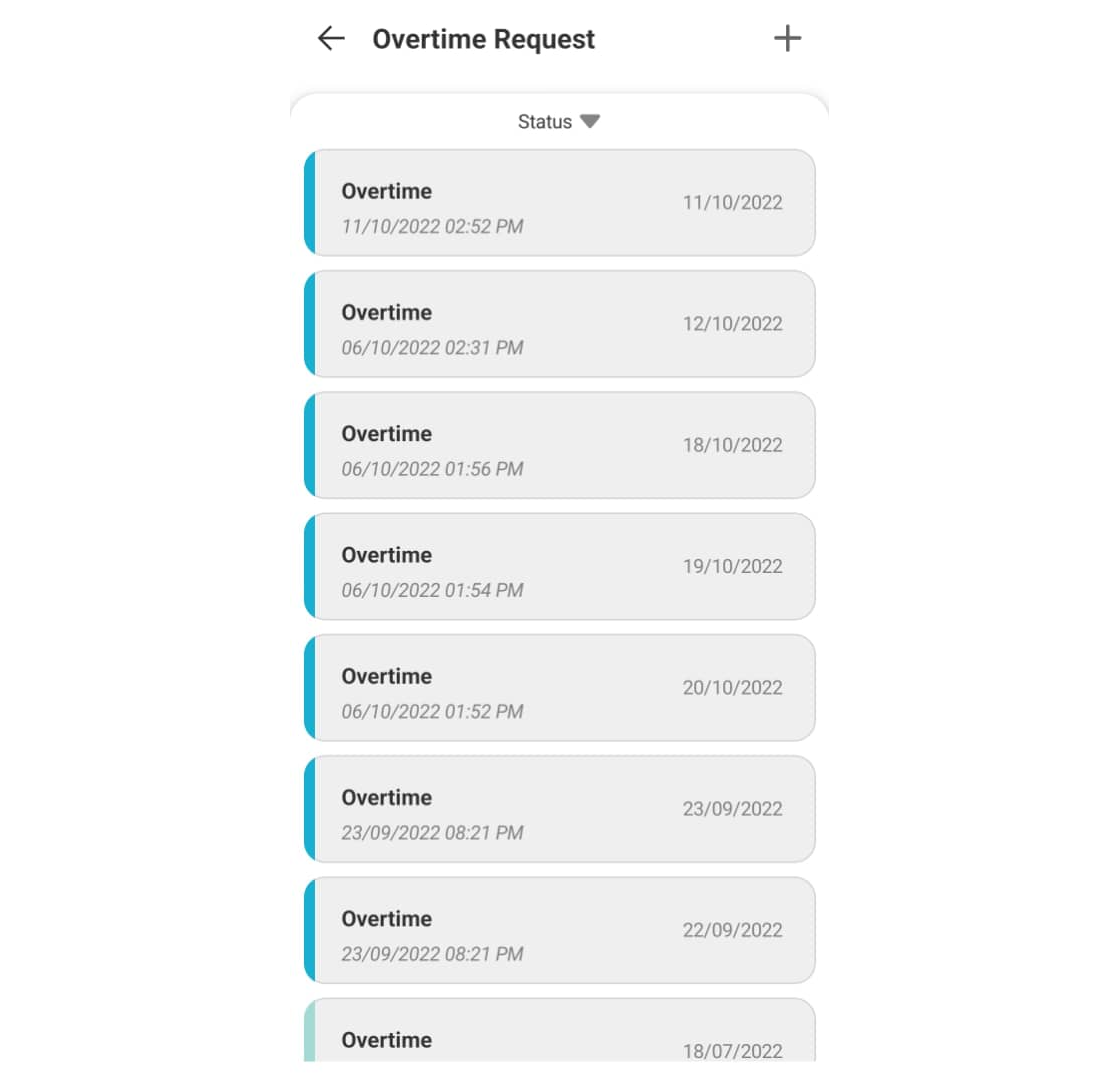
6. Once the request is successfully submitted, a new pending request will appear under the Overtime request.

B. Approve Overtime

1. Users who are set as Overtime approvers will receive a notification on their mobile for each request submitted by their staff. 

2. The approver can also check any request done by their staff under the notifications tab.


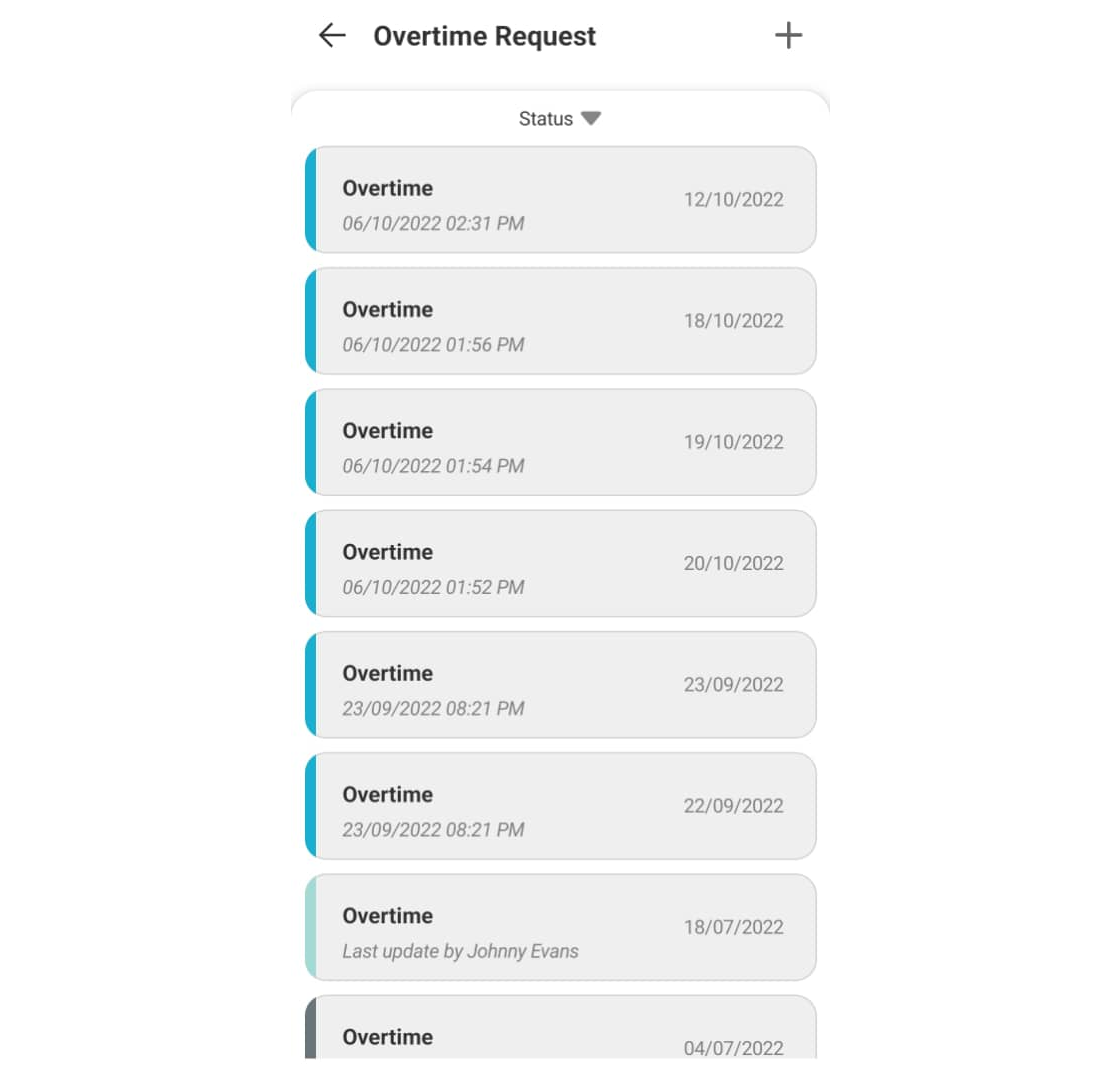
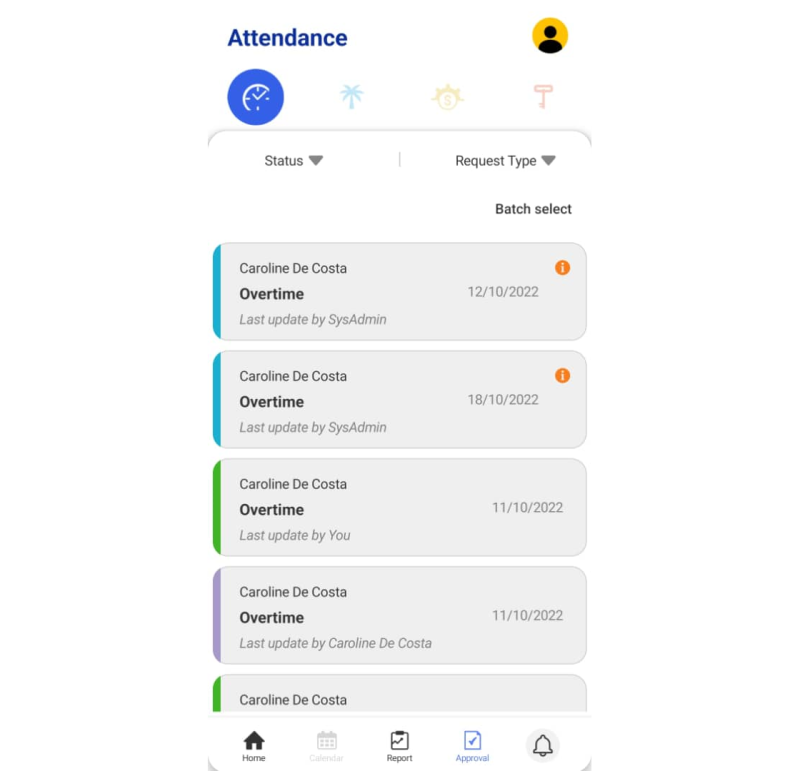
3. The approver may click the Approval tab to view all staff requests and the status of each request done by the staff. Click on the pending request (blue tab) which needs an approver response.


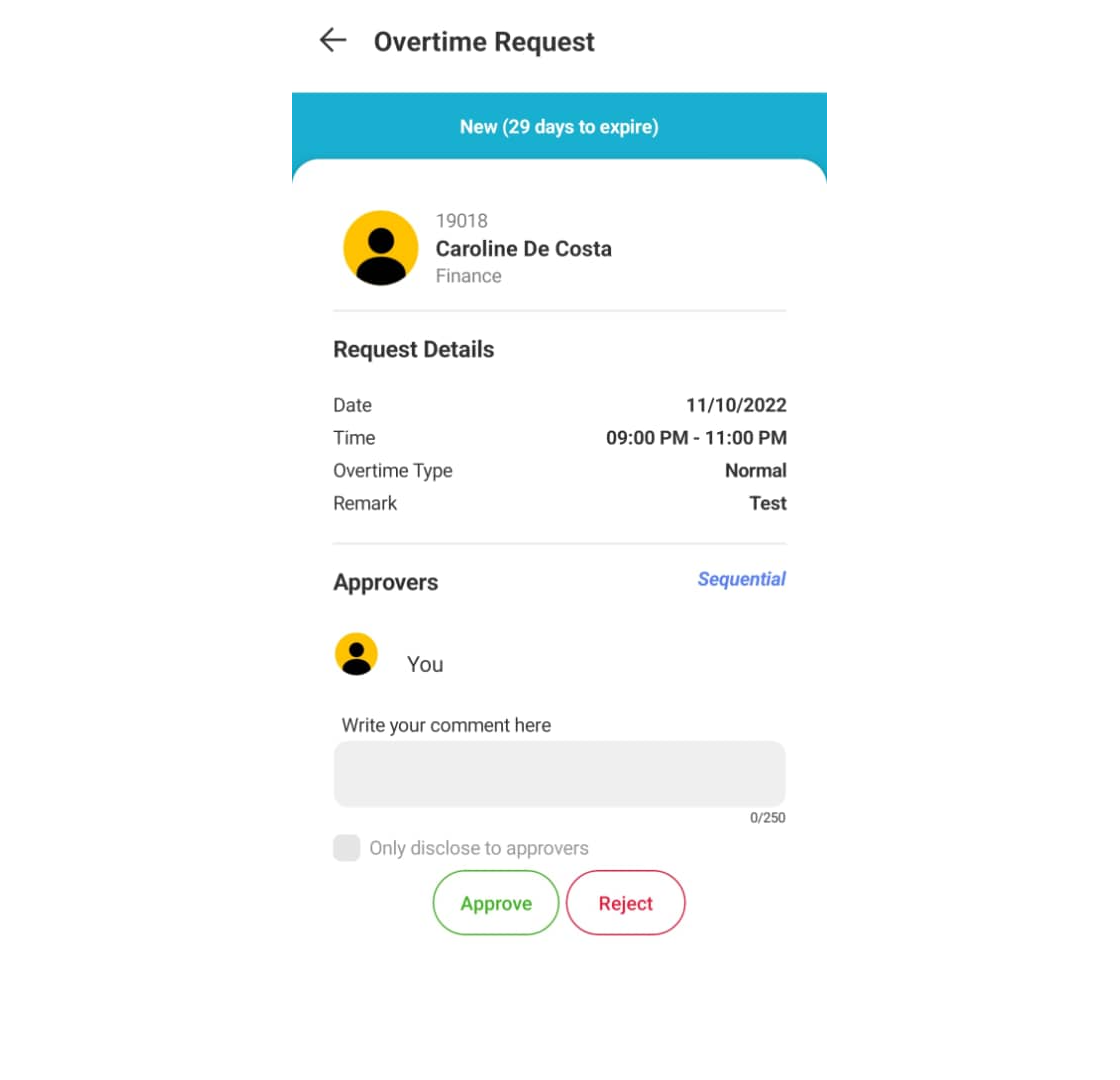
4. The approver can fill in the comment section and respond to the request (Approve or Reject).

5. Once the Approve button is clicked, the request tab will change to green.


Note: If some of the screenshots or steps viewed here are different from the ones in the current system, this is due to our continuous effort to improve our system from time to time. Please notify us at [email protected], we will update it as soon as possible.


0 comments:

Have any questions or inquiries about FingerTec? Drop your input here.

3 Ways to View Your Attendance Data in TimeTec HR

Thursday, October 20, 2022 TimeTec 0 Comments


Introduction
Timetec HR is the latest mobile application that Timetec just launched which we called the “Super App”. This newest application combines 4 modules (TA, Leave, Claim and Access) under one application which will reduce the hassle for the user to view multiple modules. Here, we will guide you on the steps to view your own attendance data.

Process
A. Dashboard
1. You may login to the Timetec HR application using the login credential set in the system. Once you log in to the mobile application, you will automatically be set to the Timetec TA application homepage and under clocking tab.


2. To view the Dashboard information, you need to click on the Dashboard tab which is set beside the Clocking tab. Under Dashboard information, you can view your total working time, remaining working time and overtime which is depending on your working schedule.


B. Attendance
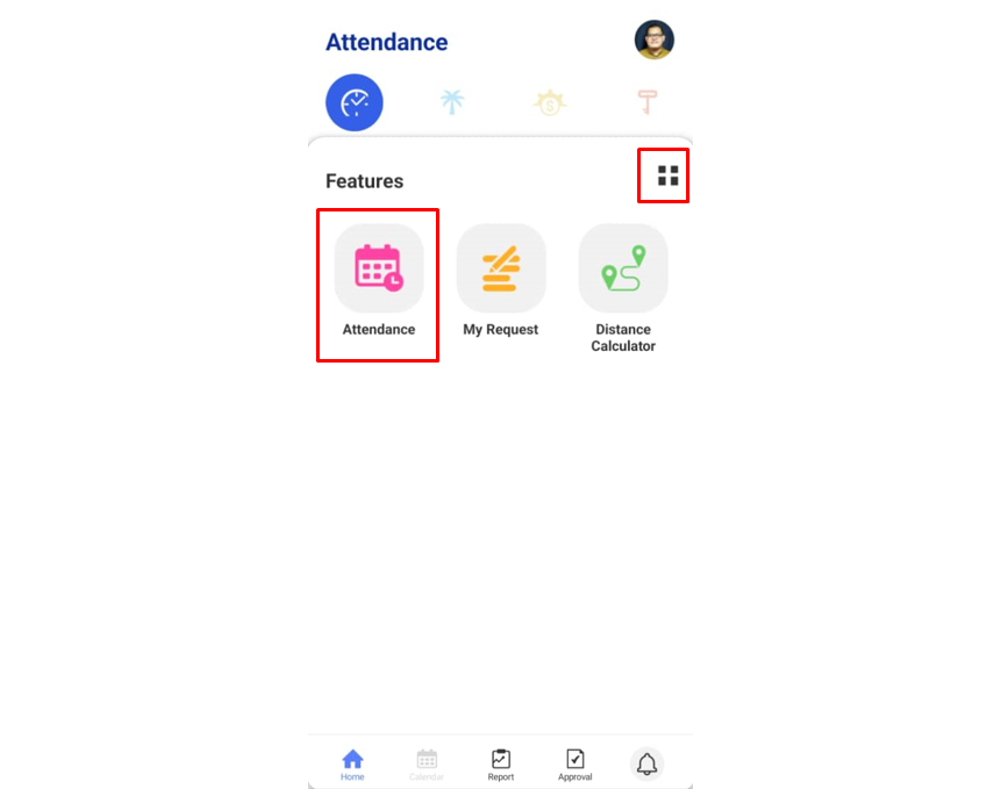
To view the Attendance data, you need to click the 4 small box symbols on the top right corner of the homepage and click on the Attendance icon.

1. Under the Attendance tab, you can view your clocking attendance based on the filtered date range.


2. You can filter the attendance range date by clicking the Today icon (Default).


C. Clocking History
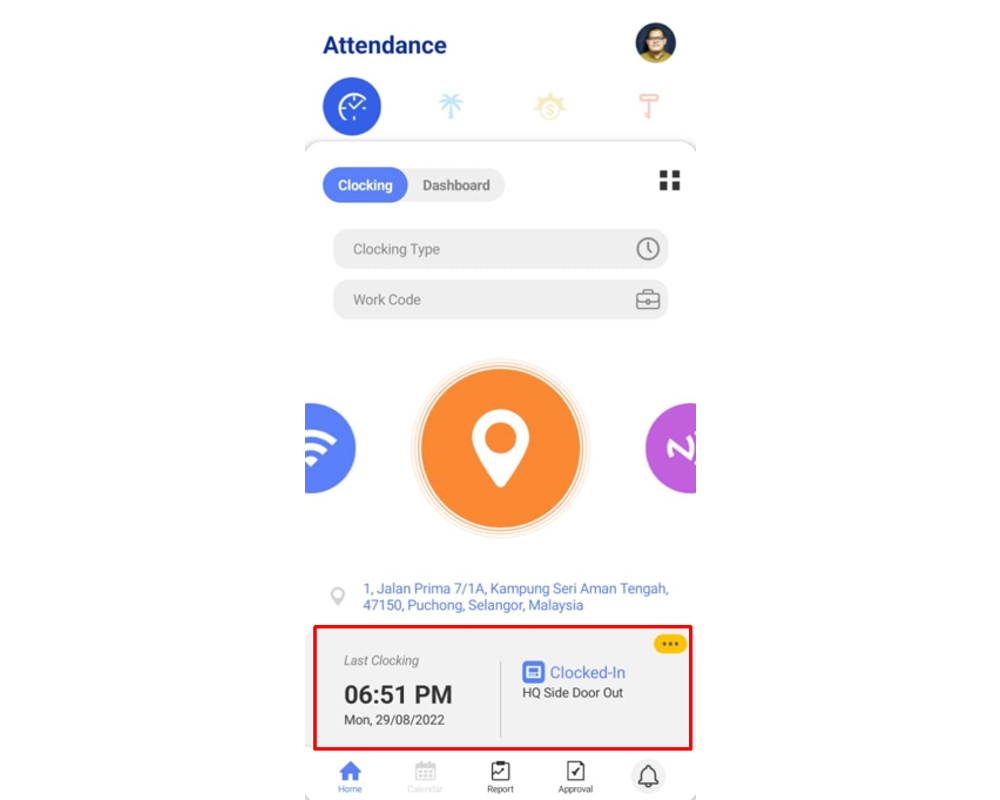
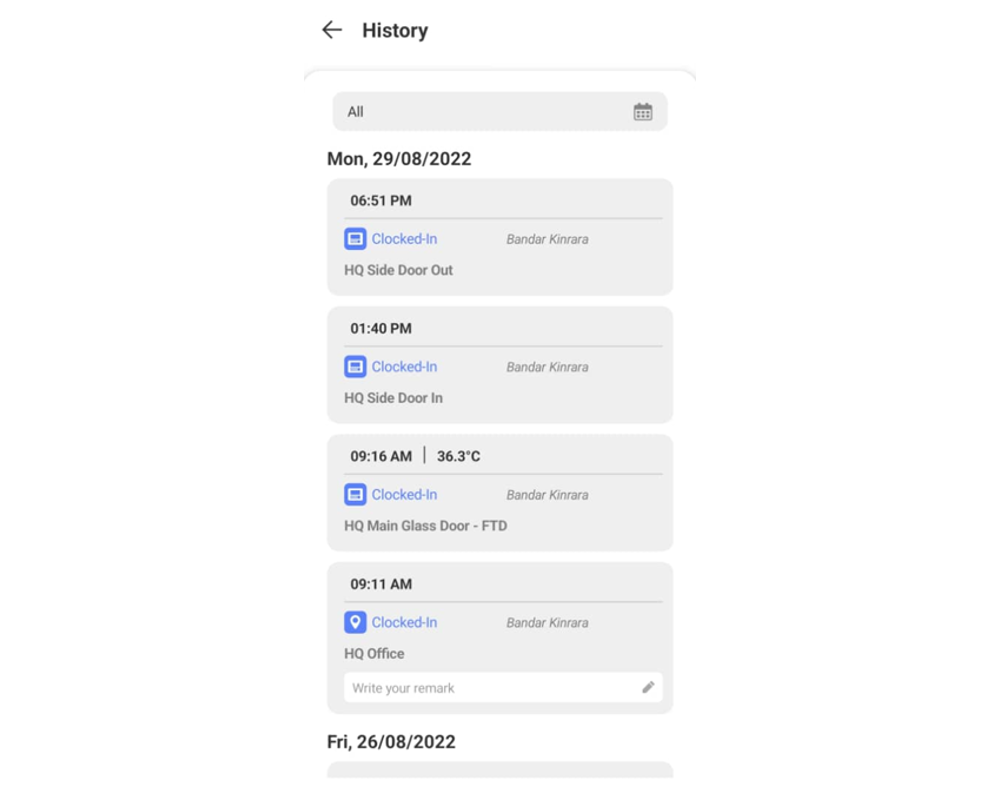
1. From the homepage, you can view your Last Clocking data including the date, time, clocking type and clocking option. You are also able to view your previous clocking data by clicking on the Last Clocking tab at the bottom of the homepage.


Remark: Only successful clocking will appear under the clocking history.

Note: If some of the screenshots or steps viewed here are different from the ones in the current system, this is due to our continuous effort to improve our system from time to time. Please notify us at [email protected], we will update it as soon as possible.


0 comments:

Have any questions or inquiries about FingerTec? Drop your input here.

Monitoring Patrol Records in TimeTec Patrol (Mobile App)

Tuesday, October 18, 2022 TimeTec 0 Comments


Introduction
Timing is very important in security and having the guards equipped with a tool that assists them in reporting is very crucial for any security firm. The TimeTec Patrol App was developed to improve the way guards handle and address their patrolling activities straight from their smartphones. In this article, we will demonstrate how to monitor patrol records in the timetec patrol mobile application.
                                      
Process
1. Open TimeTec Patrol Application and click the Patrol Records on the main screen.
                             
2. In the Patrol Records tab, You may find the scheduled time range of the tour & the assigned guards as well as their patrolling routes.

3 Once you click on any assigned guard, you will be able to see the assigned checkpoints, 
Scan time from the start of the tour until the end of the tour which has been set for the guards.
Each checkpoint should be patrolled within the specified time frame
                                                                                     
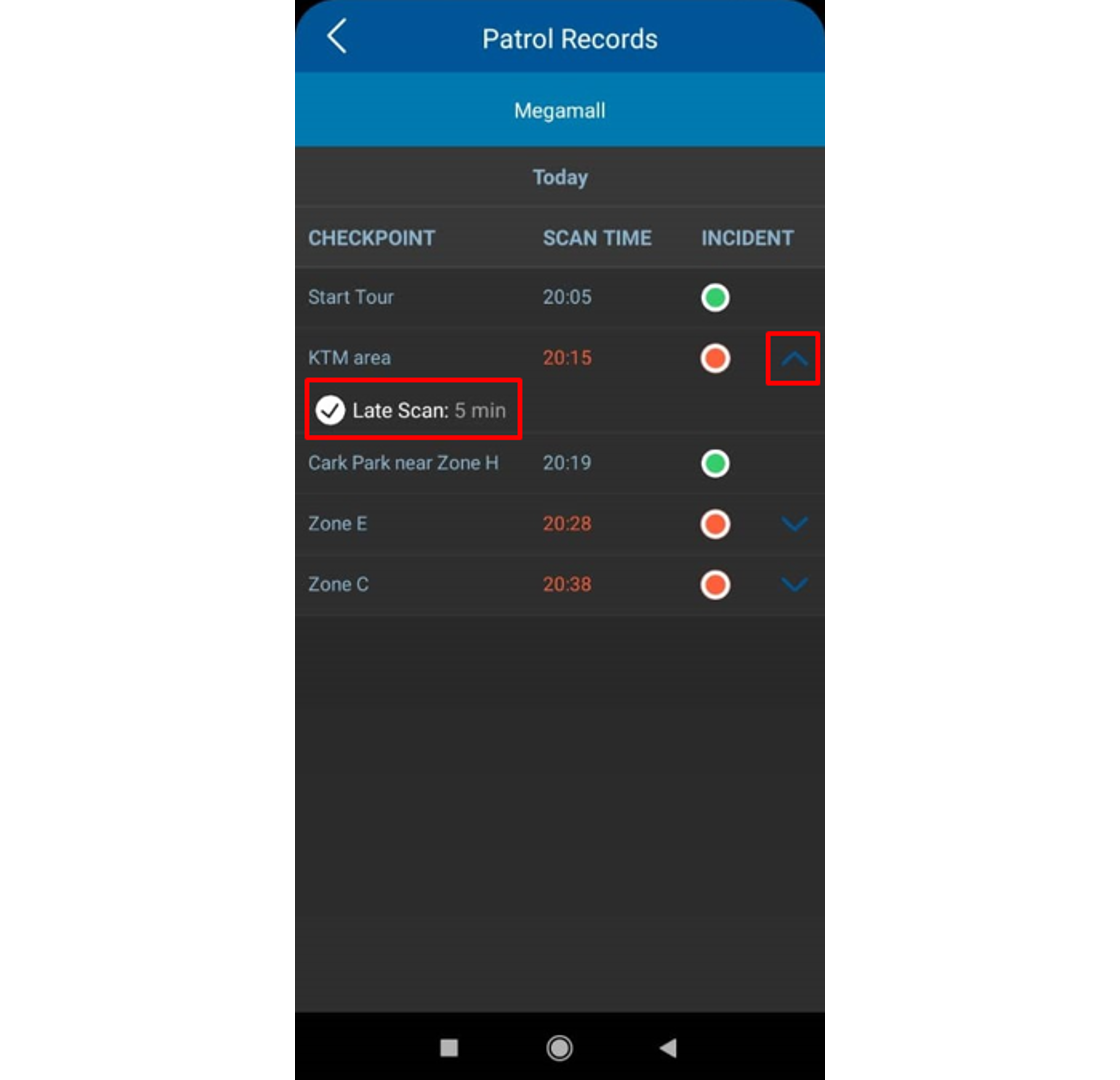
4. From the record displayed, Green dots mean that the guards have successfully performed
Scanning according to the specified time while Red dots represents Tardiness during their 
patrolling. If you click on the arrow you will be able to see the tardiness record       
                             

Note: If some of the screenshots or steps viewed here are different from the ones in the current system, this is due to our continuous effort to improve our system from time to time. Please notify us at [email protected], we will update it as soon as possible.


0 comments:

Have any questions or inquiries about FingerTec? Drop your input here.

AWDMS Setup Tools Not Responding or Not Running Completely

Thursday, October 13, 2022 TimeTec 0 Comments


Introduction
To use Face ID 5 or Smart AC/1 device series with Ingress Software, it is required to Install AWDMS. During the installation of AWDMS, it is required to run the AWDMS setup tool once the AWDMS installation is completed. This setup tool will create a database for AWDMS which is located on your MySQL Server. However, there will be several errors which you might find when running the setup tools. The following error that you might find is the AWDMS setup tools not responding or not running completely which will cause the AWDMS installation to not be completed accordingly.

The issue above will be shown due to the Windows account log-in not having sufficient privileges or in other words, the Windows account is not logged in as Administrator. The Administrator account also must be able to access any folder and have privileges to start services so AWDMS or the Fingertec Software is able to be installed successfully.  You will need to get help from IT personnel to configure the correct user account before you can proceed with the installation. You may also refer to the following steps to give access to the BioSecurity folder.
 
1.       After AWDMS is installed, go to C:\Program Files and find the BioSecurity folder. Right click and go to properties > security tab.


2.       Click edit > tick each permission > apply. Repeat for all Groups or usernames.


3.        Click OK to complete the configuration. Then run again the AWDMS setup tools (AWDMSSetup.exe and awdms.bat) accordingly and once the tools are completed, restart your computer once.

Note: If some of the screenshots or steps viewed here are different from the ones in the current system, this is due to our continuous effort to improve our system from time to time. Please notify us at [email protected], we will update it as soon as possible.


0 comments:

Have any questions or inquiries about FingerTec? Drop your input here.

Troubleshoot Alarm Triggered From Face ID 5/TD/FTD

Wednesday, October 12, 2022 TimeTec 3 Comments


Introduction
An alarm is very important to notify a user if something is happening to the device or the access system. However, users sometimes do not know what causes the alarm to trigger. Here, we will show you how to troubleshoot what caused the alarm to trigger.

Step 1:
-         First, check the alarm symbol from the top right corner of the device.

Step 2:
-         Please check and make sure the tamper switch (magnet) is perfectly fit to the back casing.

Step 3:
-         Check door sensor setting:-
Go to MENU -> Access Control -> Access Control Options -> Door Sensor Type -> Select ‘NONE’ if you don’t use door sensor.

 
*Notes: If you are using a door sensor and the alarm is still making a sound, please check your door sensor wiring.
 
Step 4:
-         Please restart the device after all the settings above have been done.
 
Alarm triggered for external siren:
External alarm will trigger if you set up one of these settings on the device:-

1. Temperature over the range and mask detection
-         Go to MENU – System – detection management

 
2. Door alarm.
-         It will trigger when the door does not close after the time set on the device is up.(go  to MENU – Access Control – Access Control Options)

3. Verification failure:
-         Go to MENU – Access Control – Duress Options

 
Note: If some of the screenshots or steps viewed here are different from the ones in the current system, this is due to our continuous effort to improve our system from time to time. Please notify us at [email protected], we will update it as soon as possible.


3 comments:

Have any questions or inquiries about FingerTec? Drop your input here.