Introduction
FingerTec recently introduced the new TA500 time attendance device which improves while adding new features and functionalities to serve users.
New Features
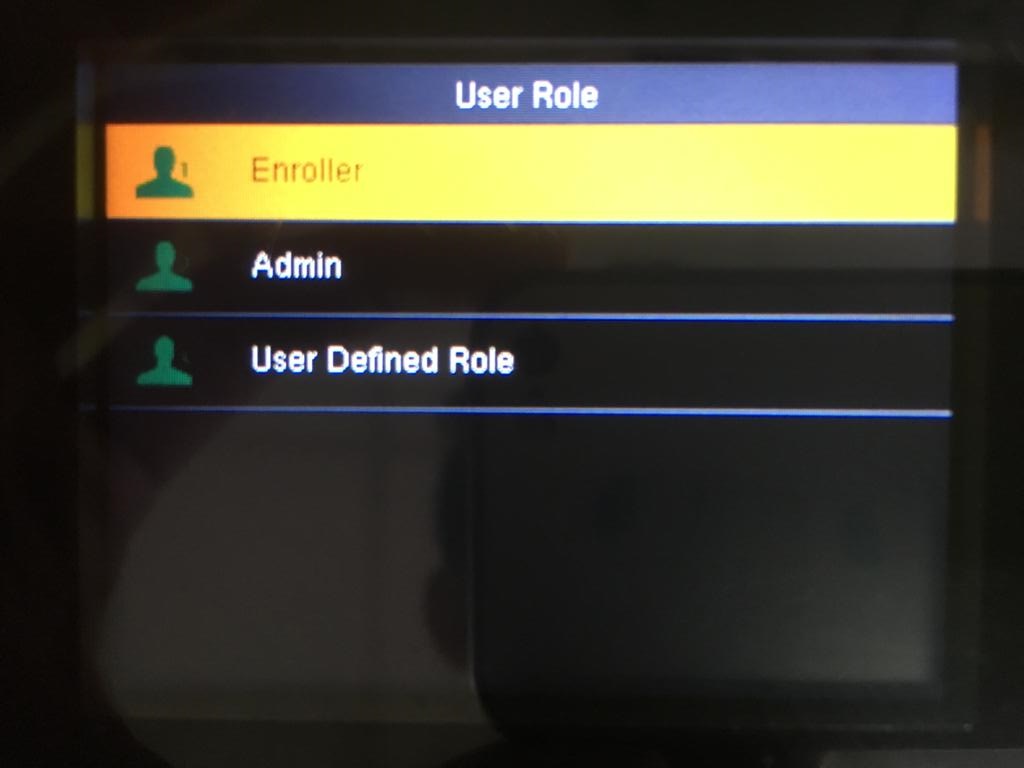
1. User role selection
This option allows users to customize users’ privileges. It offers 3 roles - Admin, Enroller, and a customized role. The user must enroll at least one Super Admin to enable this role. For a newly enrolled user, he/she will automatically be assigned as a Normal User.
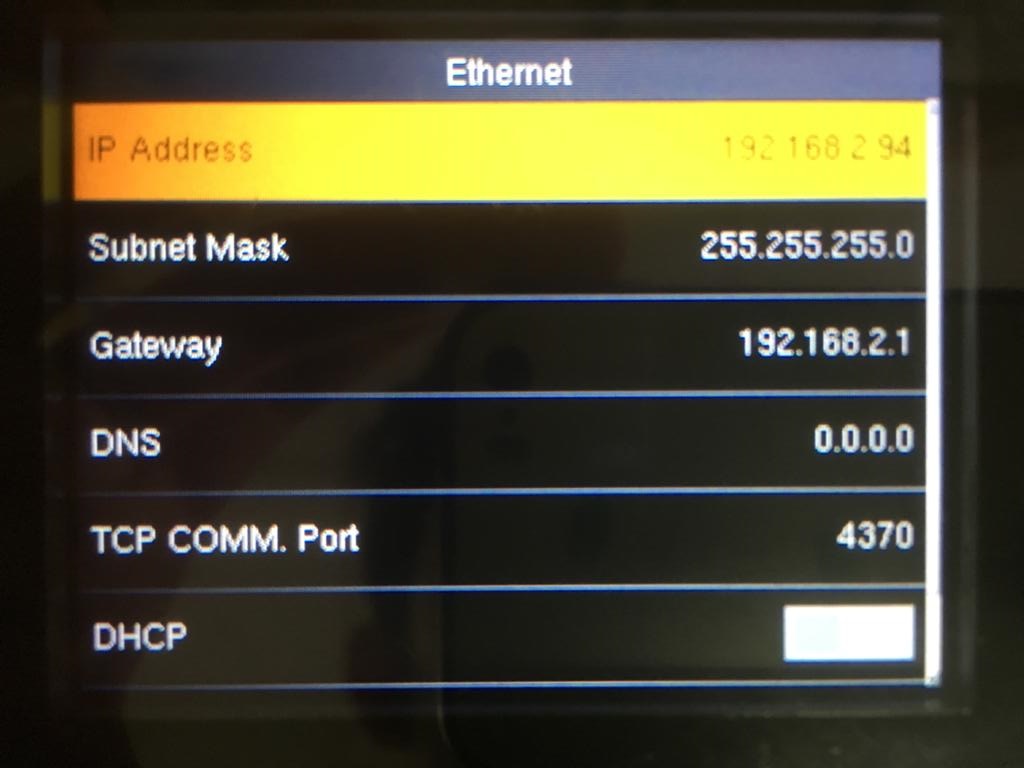
2. DNS
DNS function is the new addition in the Communication menu. For network connection which is not using DNS function, may just leave it in the default value as 0.0.0.0.
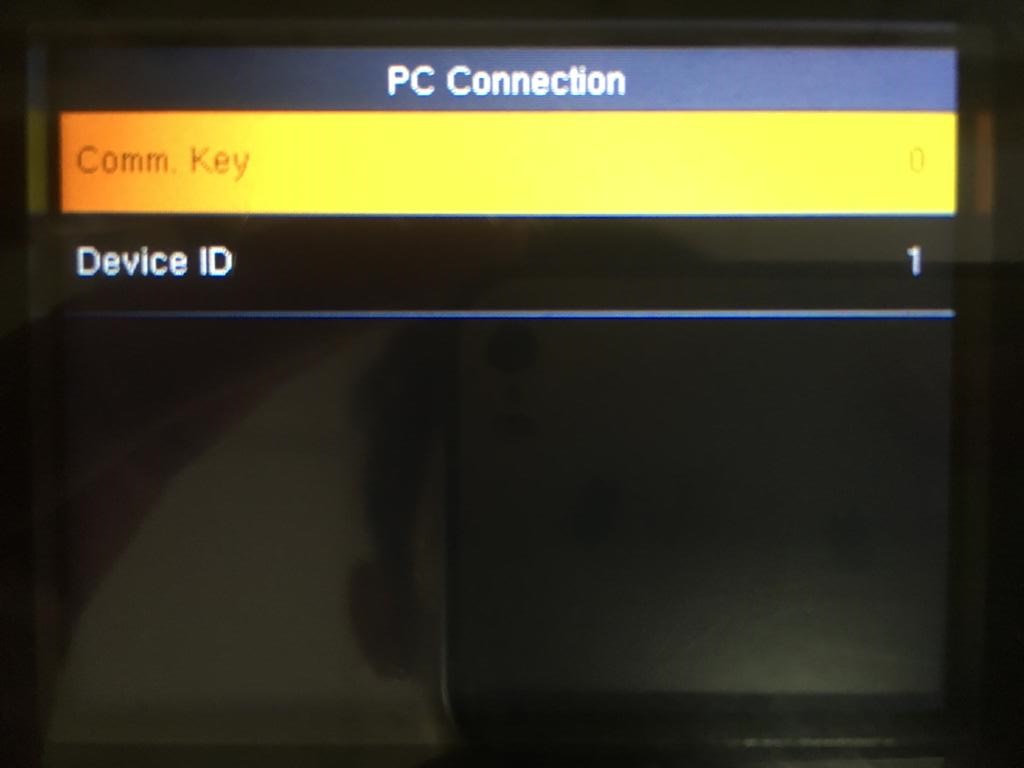
3. PC Connection
PC Connection contains a configuration for Comm Key and Device ID. Compared to the previous version, TA500, the Comm Key setting is previously located in Comm. Menu and the Device id setting is in the Pendrive menu.
4. Attendance Menu
New features
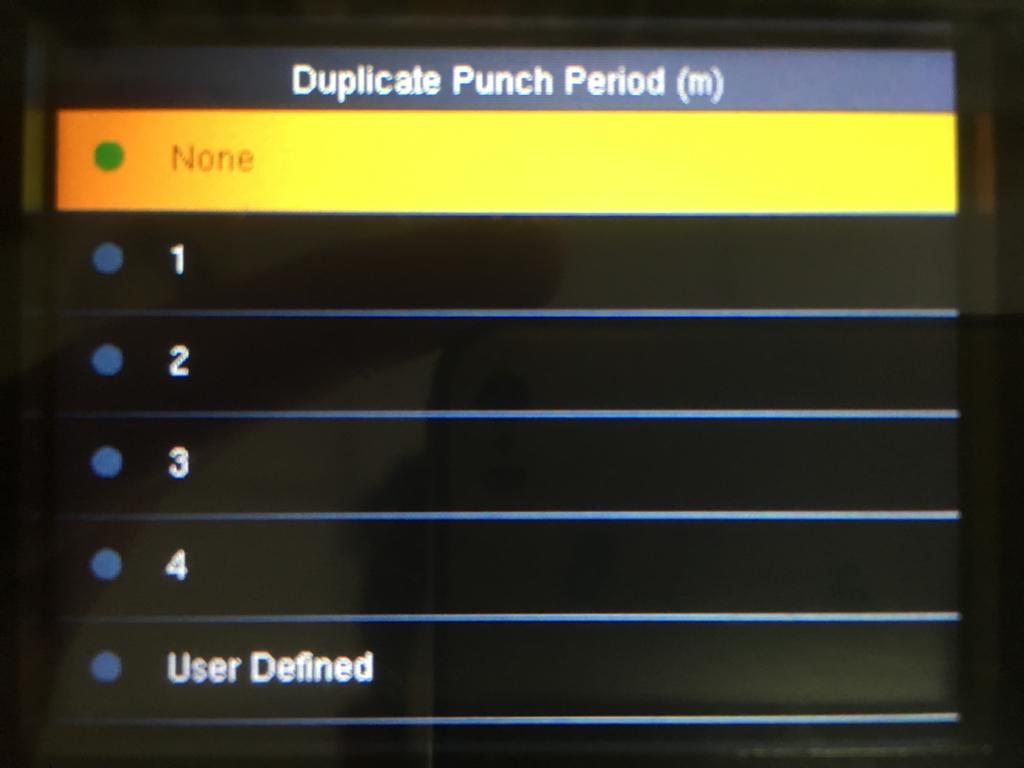
a. Duplicate Punch Period(m) (Menu > System > Attendance > Duplicate Punch Period(m))
Set for Duplication Punch Period (minutes) if you want to avoid duplicate verification within a certain time limit. For example, if you set the duplicate punch period for 1 minute, the system will only take the first verification and will automatically exclude any other verification (for the same user) done within the 1-minute timeframe. This feature can be disabled by selecting None or can be set up to 999999 minutes.
b. Attendance Log Alert (Menu > System > Attendance > Attendance Log alert)
Full log alert will appear on screen once the verification disk space is full. This function can be disabled or can be manually set up inserting 9999 on the logs. If you set 80 logs, the alert will appear when there are only 80 logs left free in the device.
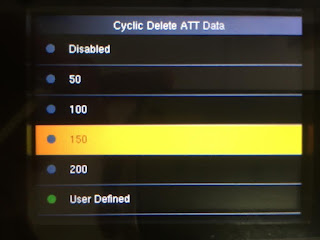
c. Cyclic Delete ATT Data (Menu > System > Attendance > Cyclic Delete ATT Data)
Self-maintain Function to delete the oldest data. For example, if you select 100 in the device. The device will automatically delete the 100 oldest logs when the log count strikes 79900.
5. Personalize
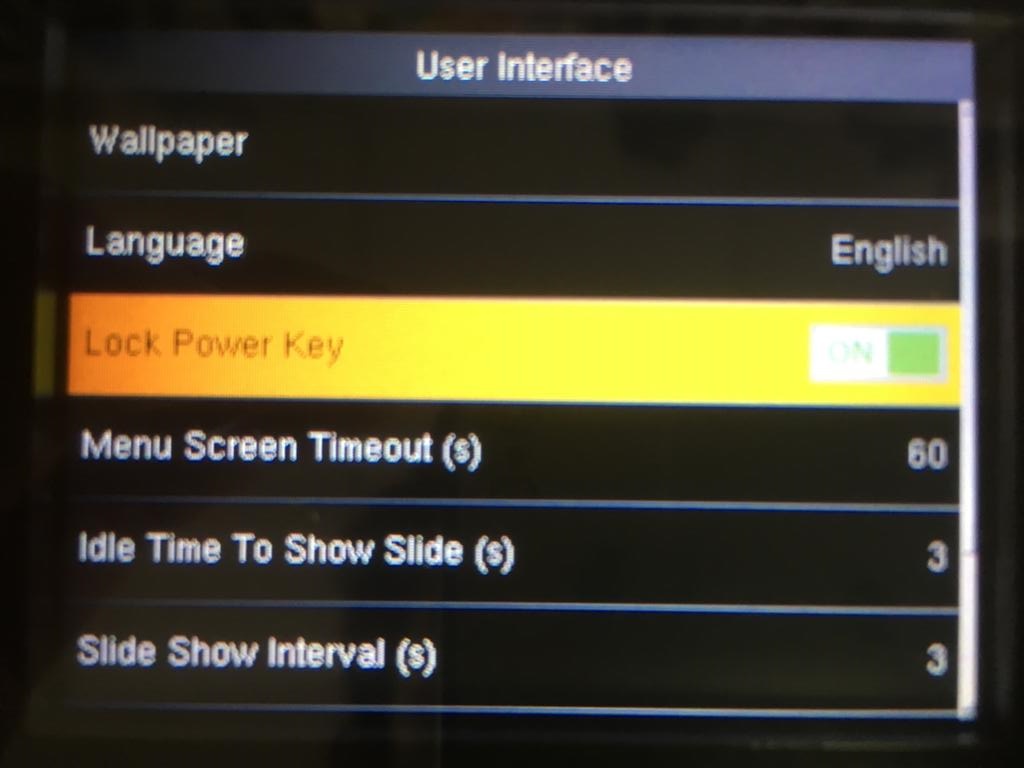
a. Lock Power Key (Menu > Personalize > User Interface > Lock Power Key = ON/OFF)
To enable/ disable the user from turning off the device using the power key.
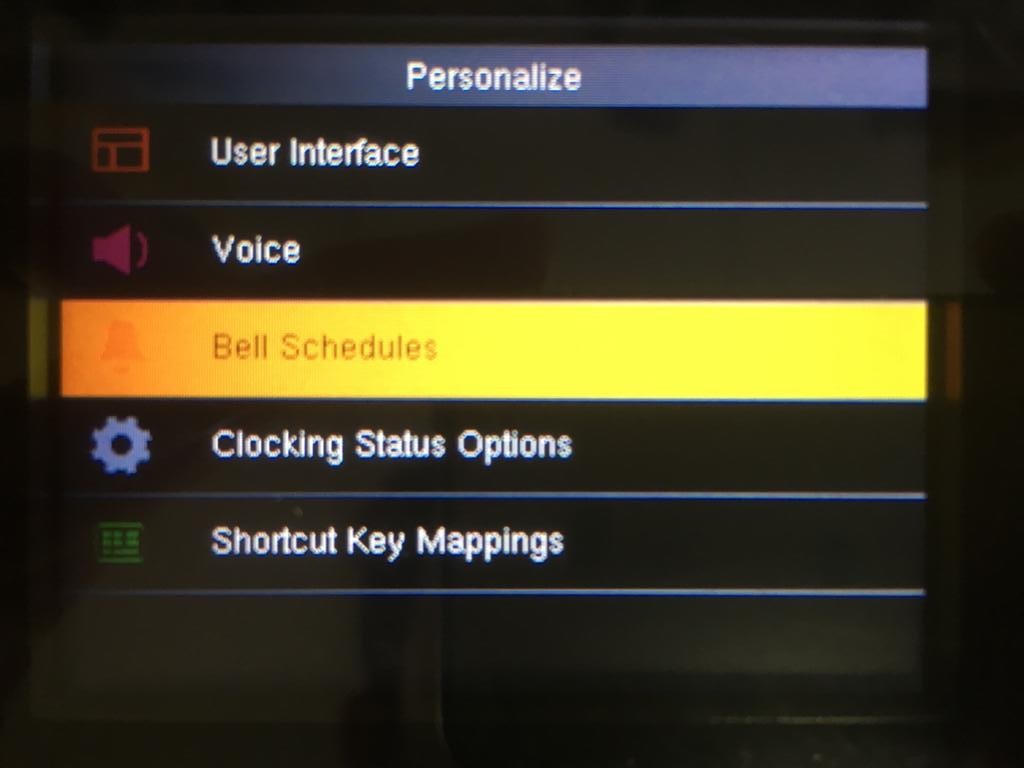
b. Bell Schedules (Menu > Personalize > Bell Schedules)
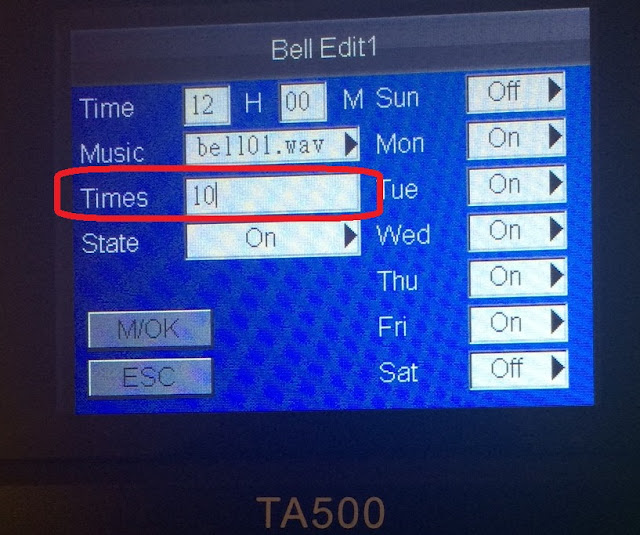
With the latest version TA500, you can set up to 63 sets of bell schedules. The default setting comes with internal and external Bell.
Note: If some of the screenshots or steps viewed here are different from the ones in the current system, this is due to our continuous effort to improve our system from time to time. Please notify us at
[email protected], we will update it as soon as possible.
Introduction
TA500 biometrics Time Attendance machine, does not only offer verification of fingerprint, and password, but it also has a versatile design. There are many useful features in TA500 that can benefit various work environment and one of them is the Bell option.
Benefits
Bell option in TA500 allows the users to configure more than 100 bell schedules on a daily basis for various occasions. TA500 can be equipped with an External bell in addition to the built-in bell to fulfil alerting function in large work environments, such as factories or construction sites, where the use of siren with higher volume intensity is necessary.
Process
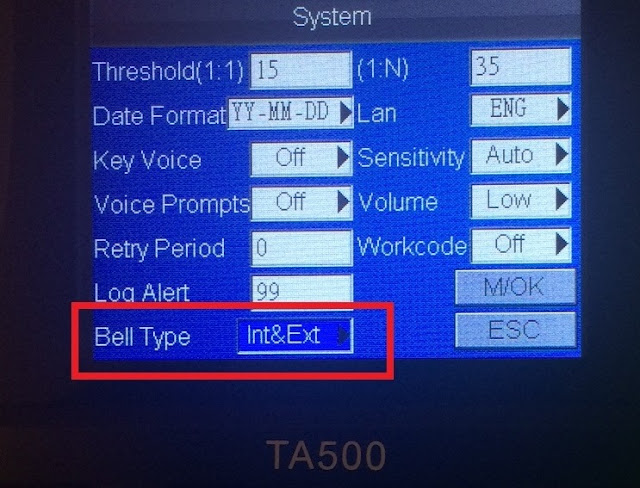
A: Bell Type
1) You can configure the bell, to only Internal, only External, or for Internal and External to work together at the same time at; Menu > System > System > Bell Type > Select Internal/ External/ Int&Ext > Press Ok.
B: Internal Bell schedule configuration and duration
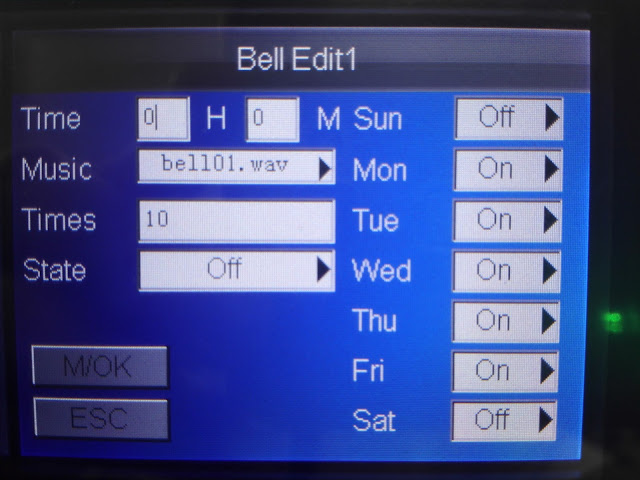
At the terminal, press M/OK > System> Bell> Select the Bell schedule number and configure the following settings based on your preferences:
I: Time: Set the Time the Bell is expected to trigger (e.g. 12:00 pm)
II: Select the effective days for the Bell to trigger (e.g Turn the bell “ON” for working days Monday-Thursday
III: Music: Select one of the 10 available ringing tones for your bell
IV: Times: The value you enter refers to the times the bell tone will be repeated (Until it is stopped by pressing the OK button, or the number of times repeated)
V: State: Set “On” for the bell to work based on the configured time and days, and “Off” to turn the Bell schedule off.
Press Ok and Save.
C: External Bell schedule configuration and duration:
1) The External bell configuration can be performed by following the details I-V mentioned in Internal Bell configurations.
2) Download the parameter configurations tool HERE:
3) Run the downloaded “FingerTecConfig.exe” file
4) Enter the IP address of your terminal at the “IP Address” field, and click "Connect", (IP address can be configured at your terminal Menu > Comm > IP > Set value)
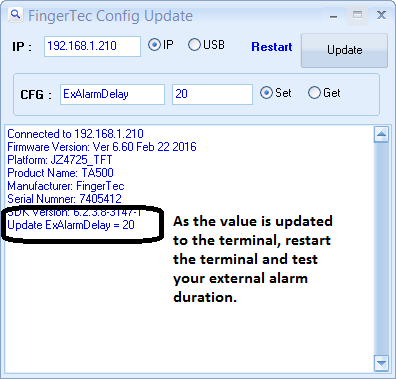
5) Enter the following parameter at CFG box: ExAlarmDelay, then enter the Value in seconds for the external bell, then click "Set" and click "Update"
.
6) Once the value is set successfully, restart the terminal and test the external alarm duration.
Note: For hardware connection of external bell to TA500, please refer HERE.
Introduction
FingerTec TA500 is an affordable terminal to
purchase; the investment cost is miniscule compared to the convenience and
benefit it comes along with. This model can be customized to support External
Schedule Bell, which is useful in alerting employees to change shifts, dismiss
for lunch break, or simply the clocking status itself. It will trigger the siren
when the pre-configured time (s) is reached.
Benefits
By using the External Bell function, the siren
can be heard from a fairly far distance. This is suitable for working
environment involving large extent of operation space, such as factories,
warehouses, or schools.
Process:
1.
The connection
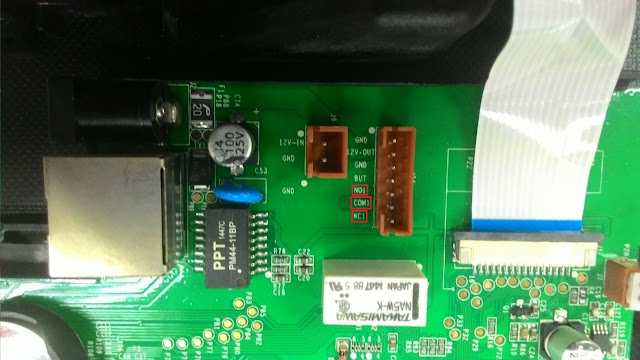
and the wiring need to be done on the TA500 MCU board. You will have to unscrew
the back casing of the terminal and look for the connector near to the network
port as shown in below photo.
2. The siren cable on the other hand
is to be connected to either NO1 and COM1 or NC1 and COM1. If the siren is
successfully connected to NO1 and
COM1, the bell will be triggered once the
time reaches. Whilst is the case of NC1 and COM 1 connection the reaction will
be the other way round where the alarm will always be triggered until it
reaches the configured time, and then the alarm will stop to trigger.
3. Hold Down the Menu button > System > System > Bell Type > External / Int & Ext to turn on the external siren.
While for the bell time configuration, you can go to Menu (Press and hold) > System > System > Bell > Select Bell >
Configure the bell time.
4. Connect
the device to the external siren as shown in the wiring diagram below:
Introduction
The
TA500 default background image is shown as below. However, this picture is not
permanent and you can change it to your preference. Let’s learn how to do it.
Benefits
You
can make TA500 your own by inserting your company’s preferred image to the
display for example your company’s logo, your company’s cause such as
environmentally friendly message and many more. You can change this page as you
like to suit your company’s requirements.
Process
To
change the TA500 default screen to your preferred imagery, you must make sure your image fulfill below conditions :
IMPORTANT!
1. Image with size of 160x205.
2. In bitmap image type.
3. Rename image as mainr.bmp
4. Mirror the image and rotate it 180 degrees (refer explanation below)
5. Make sure the pendrive is empty (doesn't has others picture or files)
Refer to the diagram below for the image properties.
Note: Make sure that
you mirror the image and rotate it 180 degrees, if you forgot to do so, the
image will appear backward and tilting.
Double
check the image name and the dimension of the image. Save the image to your USB
pendrive and plug in the pendrive to the TA500 USB port on the left side of the
terminal.
Next,
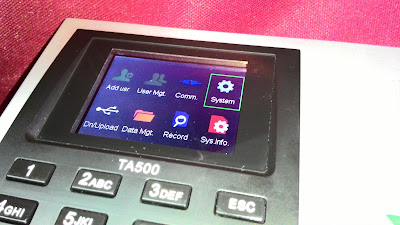
hold the Menu button to access to the Menu page.
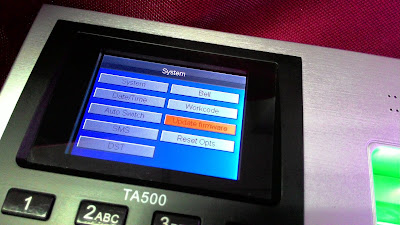
Select System and choose update firmware from the
system page.
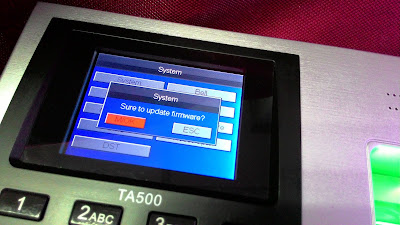
A pop up message will appear requesting confirmation
to update the firmware of your terminal.
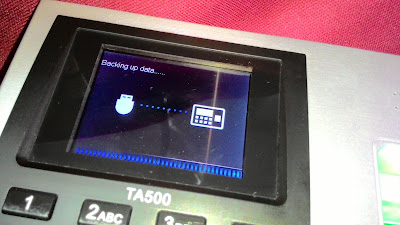
After
that the system will execute the update and you can see the below picture during
the update process.
Once
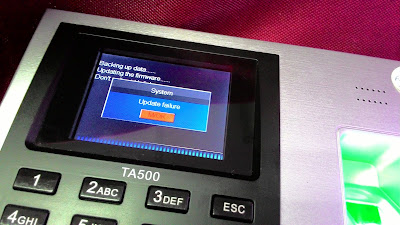
done, system will pop up an error message as per below, stating that the update
failed. Press OK to skip this message. The reason to this error is the TA500 is
unable to locate the update files required for the firmware update but only
able to find the image file for the update. However, the background image has
been updated to the terminal successfully.
After
your disregarded the error message, please restart your terminal to apply the
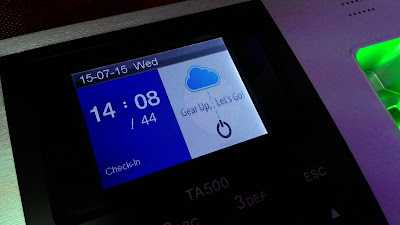
changes you made to the terminal. You can view the result as per below.
It
is that easy. Now start looking for the image you want to display on your
terminal.
FingerTec Worldwide Technical Tips website are meant solely
for our resellers. In this website, advanced information such as firmware,
training, hardware repair guide, tools and etc. are readily available for
registered resellers who have access to our website.
We are always uploading the latest information, tools and
even software onto this page. We have also recently added the TA500 and R3 into
the repair video guide archive. If you need more info regarding the
repairing/changing of spare parts for TA500 and R3, please login here and look for the repair video under
the hardware section.


