How to Install Two Face ID2 or Face IDX Door Access Devices with Door Force Open ID Verification Siren Clear
Introduction
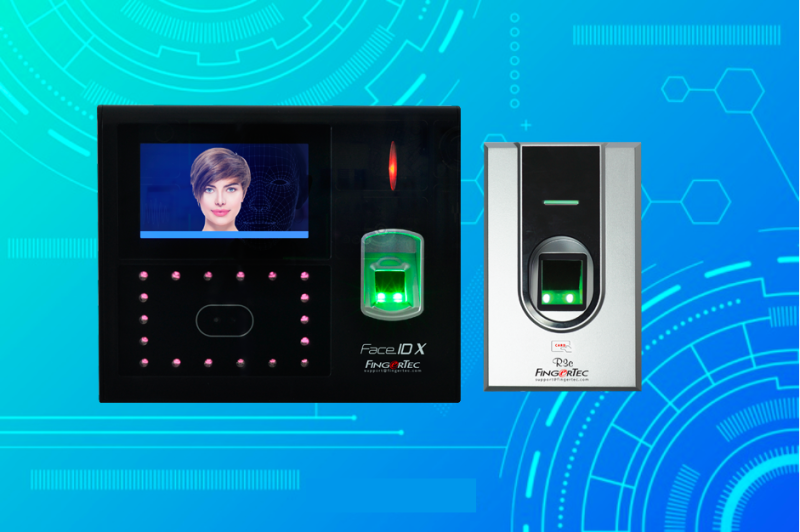
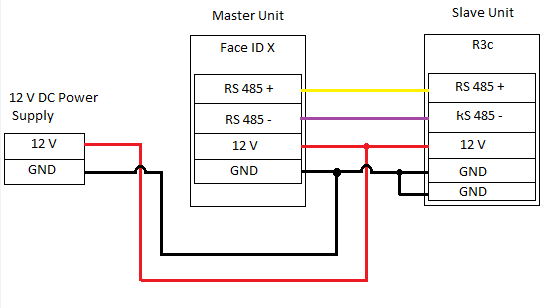
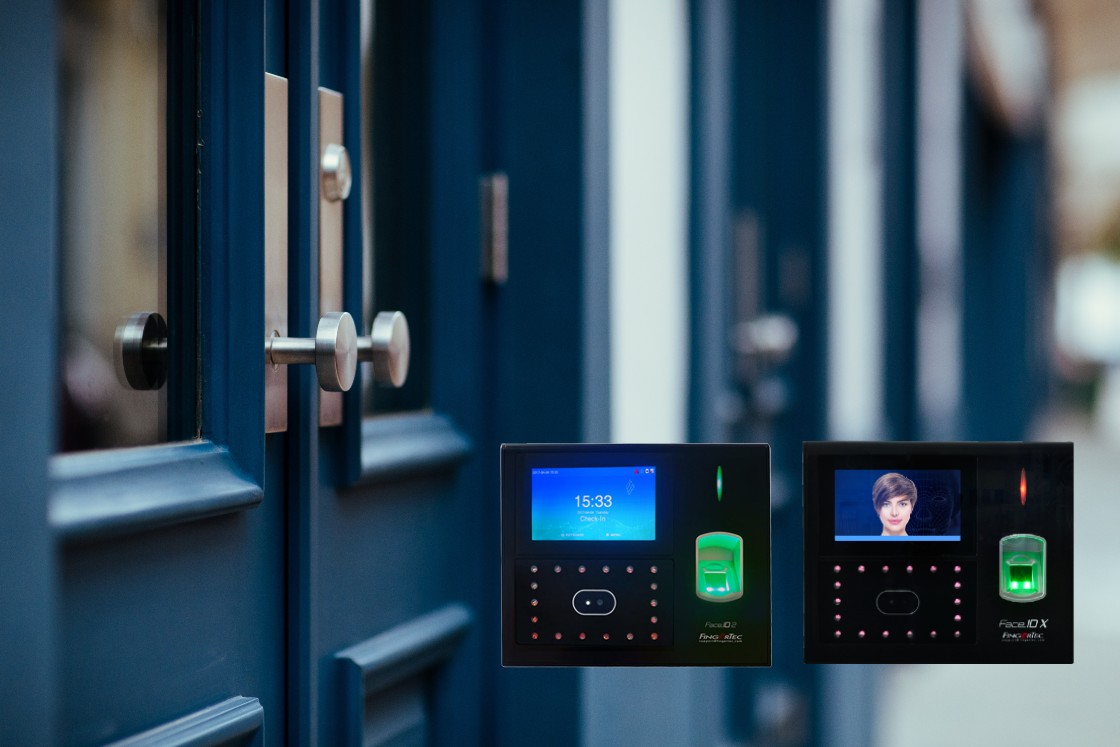
FingerTec Face ID2 and Face IDX are contactless biometrics face recognition door access devices. Typically, for those using fingerprint devices or card devices for exits, these devices are paired with slave units such as FingerTec R2c or R3c. However, for those who want to use both face recognition devices for in and out purposes, FingerTec Face ID 5 is recommended for installation without additional wiring requirements because two Face ID 5 devices can communicate with each other with Wiegand signal.
FingerTec Face ID2 and Face IDX are contactless biometrics face recognition door access devices. Typically, for those using fingerprint devices or card devices for exits, these devices are paired with slave units such as FingerTec R2c or R3c. However, for those who want to use both face recognition devices for in and out purposes, FingerTec Face ID 5 is recommended for installation without additional wiring requirements because two Face ID 5 devices can communicate with each other with Wiegand signal.
Face ID 2 or Face IDX don't have a Wiegand signal to communicate with each other. Therefore, to pair these devices for in and out access would require extra relay and wiring. However, this pairing is suitable for existing customers who want to upgrade their door access to a complete face recognition system. This setup needs two extra external 12Vdc Relays to function.
Process
This tip explains how to install two Face ID2 or Face IDX as door access devices with Door Force Open Verification Siren Clear.
This tip explains how to install two Face ID2 or Face IDX as door access devices with Door Force Open Verification Siren Clear.
Access
- Door will open when the Face, Card, Fingerprint or Password has been verified, and the door will open according to the Door Lock Delay set at AdapTec Plus (refer to AdapTec Plus manual).
Door Open Duration
- Door open duration is a situation where you can set a certain amount of time before the alarm is off after the user has been verified and the door has been opened. Usually, when the alarm is triggered, the user needs to close the door and verify the Face, Card, Fingerprint or Password to silence the alarm. However, after the user has verified the identity, the alarm will go off quite a while depending on the Door Lock Delay time settings.
(MENU > Access Control > Access Control Options > Door Lock Delay)
Door Force Open
- Door Force Open is when the system triggers the alarm caused by the door being opened without a verification or broken into. Usually, when the alarm is triggered, the user needs to close the door and verify the Face, Card, Fingerprint or Password to silence the alarm. However, after the user has verified the identity, the alarm will go off quite a while depending on the Door Lock Delay time settings.
(MENU > Access Control > Access Control Options > Door Lock Delay)
System Broken
-System Broken is when the device has been dismantled or taken out from the wall without permission. If the alarm is triggered, the user needs to put back the device and verify Face, Card, Fingerprint or Password to silence the alarm.
Note: If some of the screenshots or steps viewed here are different from the ones in the current system, this is due to our continuous effort to improve our system from time to time. Please notify us at [email protected], we will update it as soon as possible.


6.jpg)
6.jpg)

